

Happy Monday! I hope you had a weekend full of lucky charms, tasty brews and sleep-ins. Now back to the good old 9-5 grind. Here’s a fun, fast DIY craft to get your creativity flowing for the week ahead:
Supplies needed:
Pencil
Soft Cut Print Block
X-acto Knife
Lino Cutter
Cardboard or plastic piece. (small square)
Ink Pad
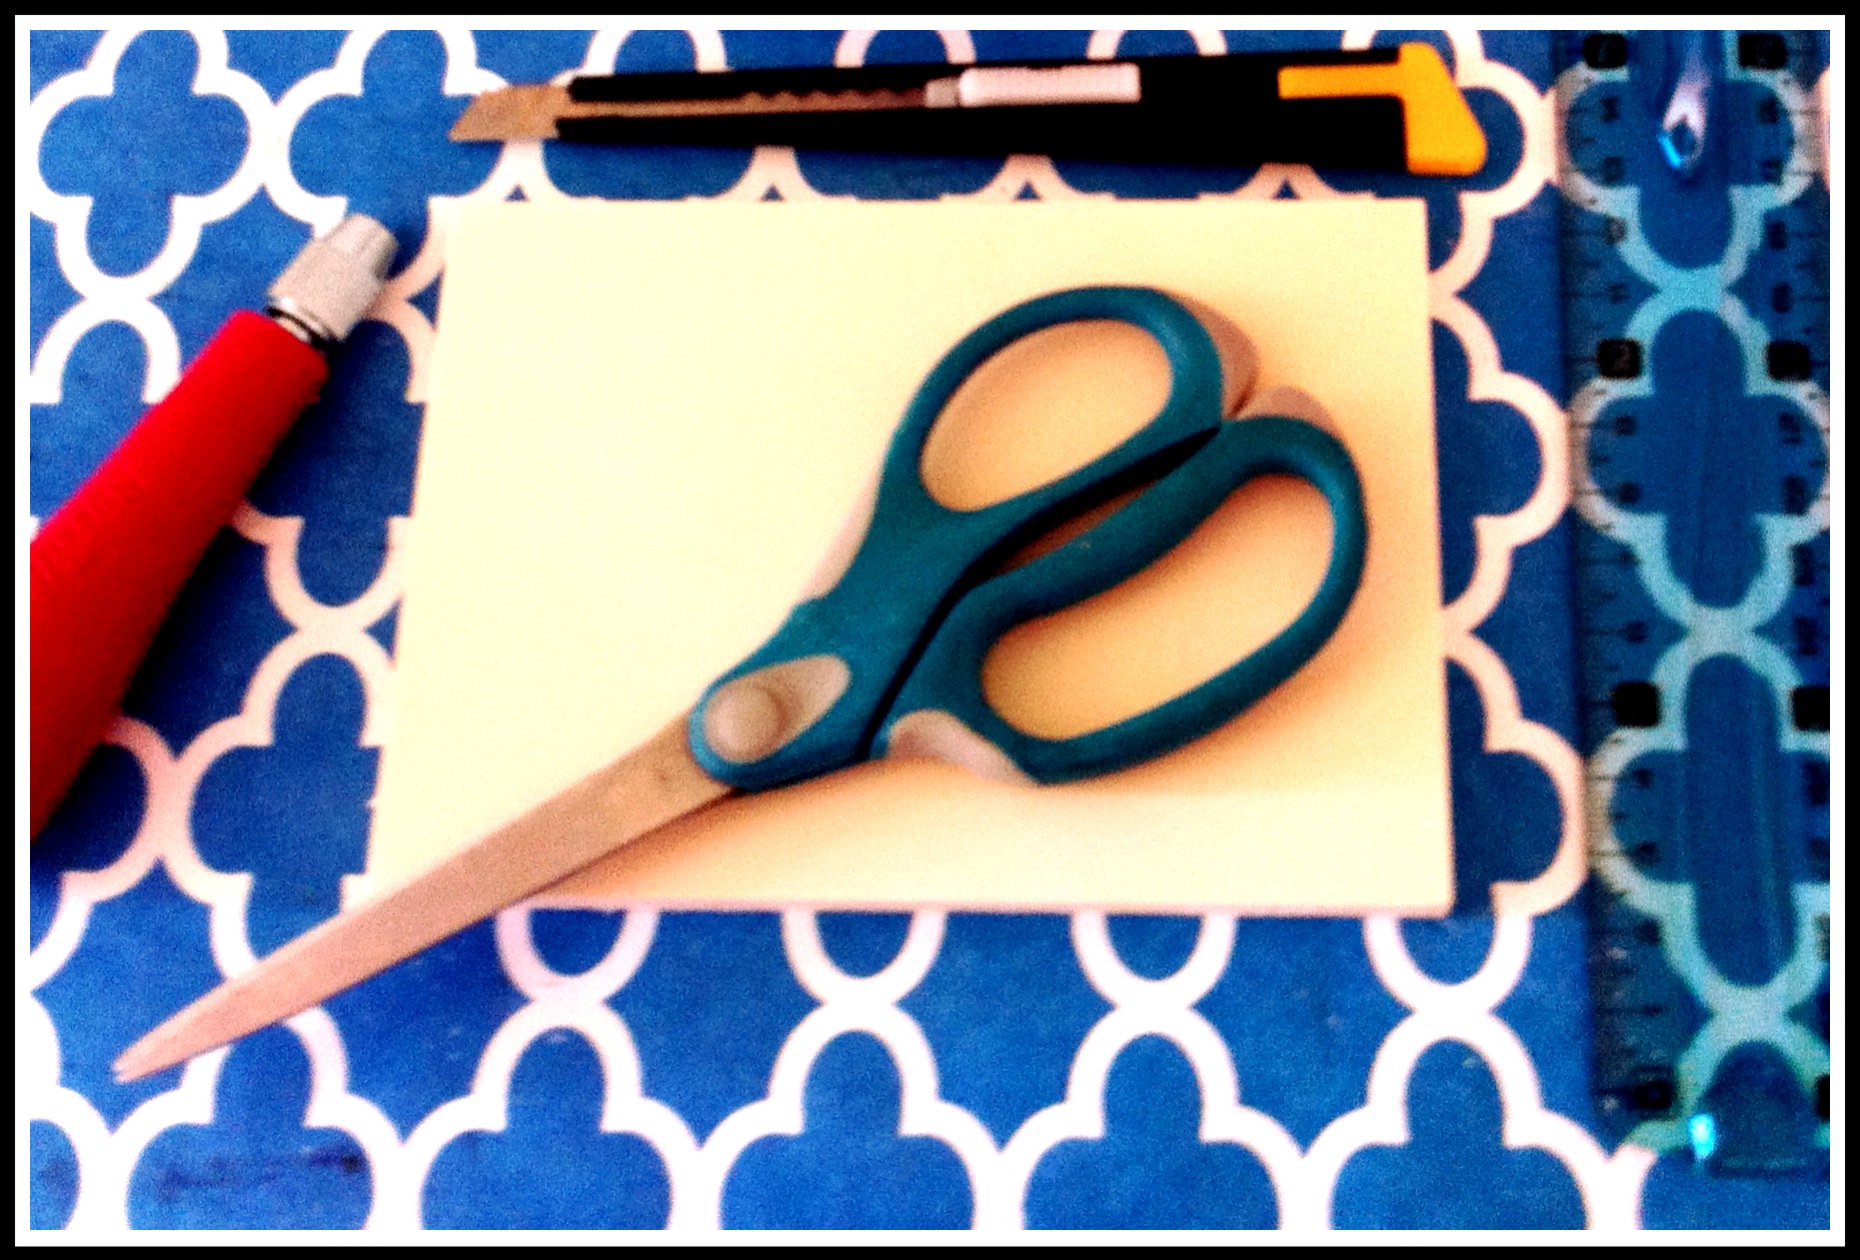
This is such a satisfying, quick craft. It takes max 15 mins to do once you have all the supplies in hand.
The cut block is really supple, easy to work with and you can practically design just about anything! Throw yourself at the canvas. How about a little bunny foofoo to stamp on an easter card or craft? Your token trade-mark symbol? (mine’s an owl or a feather! haha. What’s yours?)
All supplies needed for this craft are available at most craft stores in the scrapbooking section. Try Michaels and DeSerres in Vancouver.
Steps:
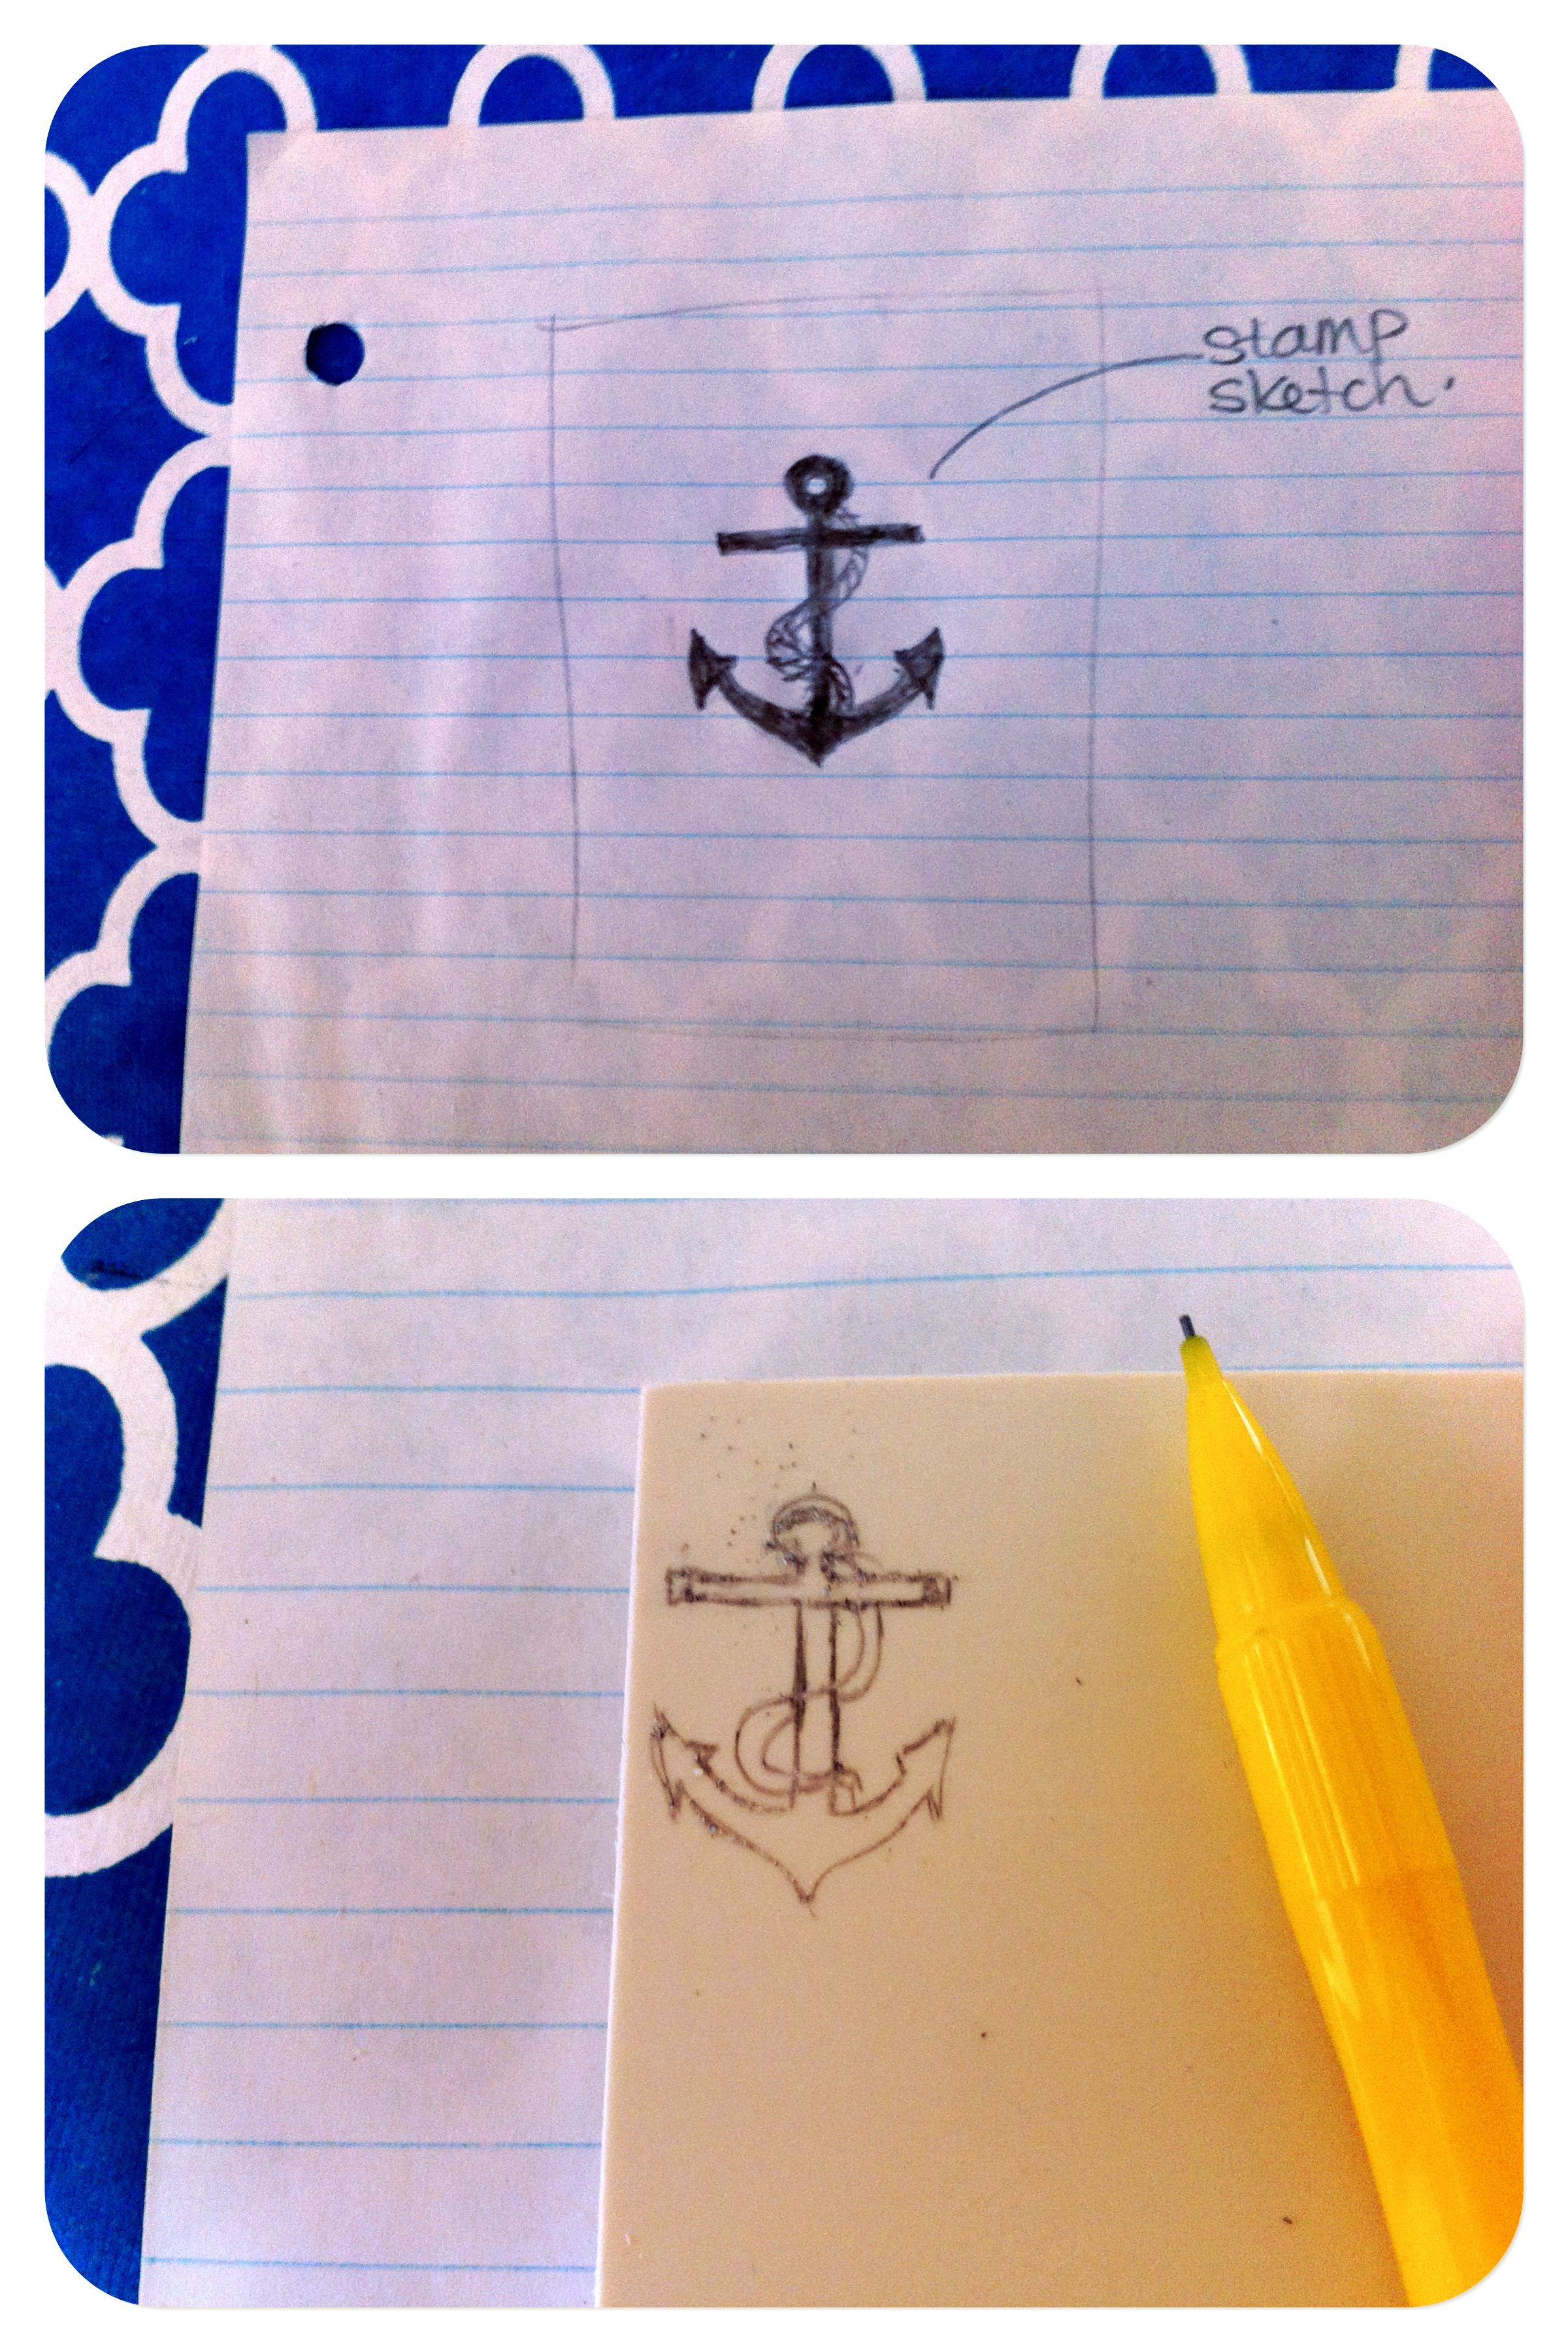
1. Design your stamp! Sketch whatever you like on a piece of paper first. I chose a nautical theme for my stamp since I was making it for a friend who has an affinity for anchors.
2. Once you are satisfied with your design and have had some practice drawing it, pencil it carefully onto the soft cut print block. If you make a mistake, don’t fret– you can always gently rub out your error. Of course, the simpler your design the easier it will be to do step 3: cutting it out.
3. Begin cutting out your design with an x-acto knife. Start by cutting out a small square around your design. Then slowly pick away at the outline.
4. Pause before attempting the tiny details of your design. The soft cut print block is quite delicate and can break if you aren’t careful. Use the smallest tip on your lino cutter to scrape out your fine lines. This will help keep your cutting precise.
5. Mount your stamp on a square piece of thick cardboard or plastic with glue. You can also leave the finished stamp on its own (what I did because I was feeling lazy).
Voilà you are good to go! Go on, get stampin’!

There are endless great ideas/functions for stamps. Other good ideas:
- Your initials
- Return Address (That one would require lots of patience and precision!)
- a “With love” or “To: and From:” design to stamp on gift tags
- A heart (because you like to spread the love)

Thanks to fine and feathered for the inspiration for this D.I.Y. craft.
I hope you have a great week ahead. It’s Spring Break for me (suckers!) so I’m off to Fernie to visit my brother and ski the week away. Happy crafting.


Pingback: DIY Moleskine Journal | Blue Owl Treats