
 Is it one of your dreams to be served breakfast in bed at some point in your life? Well it is one of mine! There’s something so comforting and romantic about the idea. My fantasy is to be woken up by the fresh aroma of cinnamon buns and hot coffee and then slowly savour their tastes while reading a morning paper. There, I’ve put it out there. Dream-makers, you can start your magic now.

A couple days ago I came across Prudent Baby’s article on how to customize wooden trays. What a great idea! With a little bit of Mod Podge and colourful paper, a boring old wooden tray gets a fresh look.
After scanning through Jacinda’s directions (Prudent Baby), I started imagining the endless possibilities for tray decoration. How about Mod Podging oversized black initials on a brightly painted tray? Photographs? Artwork? Infinite options! My breakfast-in-bed imaginings just became that much more stylin.
The DIY tray craft felt like the perfect thing to do myself since I just happened to have an old wooden tray (The Kitchen Corner), scrapbook paper (Michael’s) and fancy wall paper sheets (The Cross) stashed around my apartment. Isn’t it a great feeling when you find a project that can use up odds and ends you already own? Waste not want not!
Supplies needed for the Custom Designed Breakfast Tray:
unfinished wooden tray (Michael’s $3.99 or
the Kitchen Corner, prestained $5.00)
Wood friendly paint or stain
(I used Varathane Interior Wood Stain in Summer Oak)
decorative paper
(My paper was from The Cross in Vancouver,
but I'm sure PaperYa in Granville Island will
have lots of beauts.)
Mod Podge
paintbrush
scissors, ruler
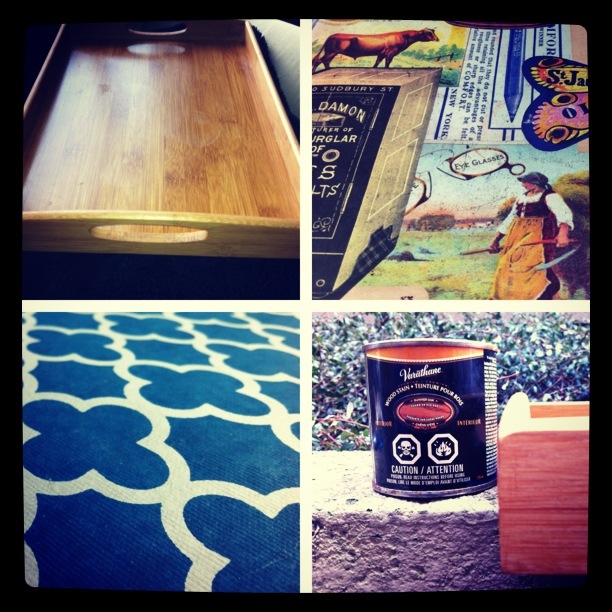
 Top: Before. Bottom: After (Summer Oak Stain)
Directions
1. If you want a scruffy/worn/used look to your tray, sand paper it first. Paint tray desired colour or stain (with sponge). 2 coats. Let dry completely. 2. Measure and cut paper to size of tray face. Fold edges at corners of tray, and cut along fold. 3. Paint a Mod Podge layer on tray face. 4. Carefully smooth paper down onto tray starting from one edge and working down to the other. Use a ruler to seal paper to tray face/Mod Podge layer. Push out all air bubbles from the paper with ruler. 5. Add desired decorations to paper. (I added green and gold stripes to my paper.) 6. Paint one layer of Mod Podge ontop of design. Once dry, paint another layer. 7. Let dry and plan date to serve your honey B in B.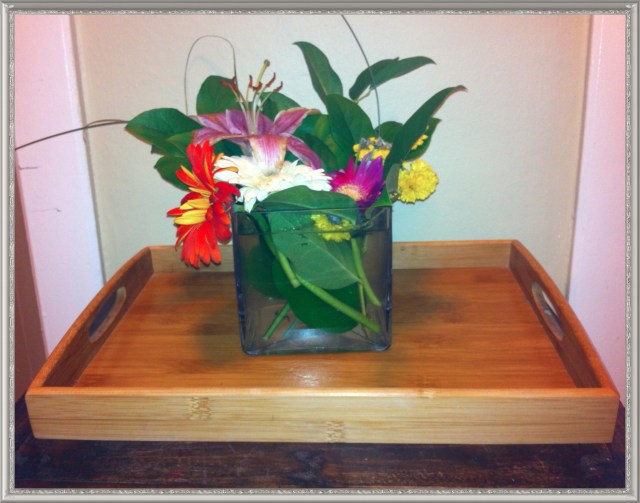
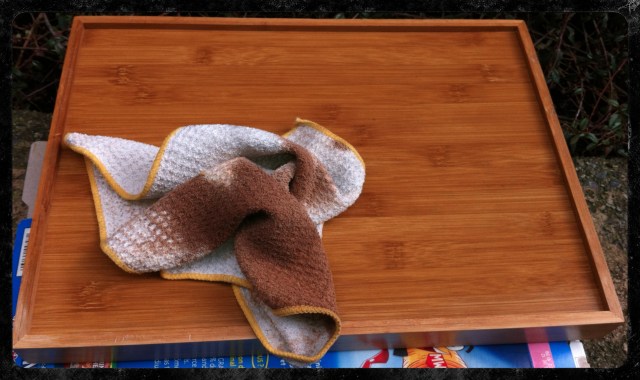
My boring tray before its makeover
Staining my tray outside.
(Important: this is not an indoor activity!! Too stinky and indelible)
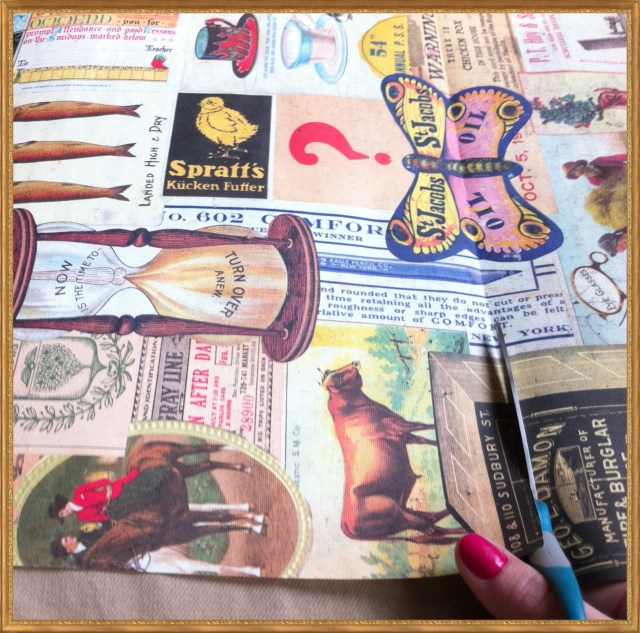
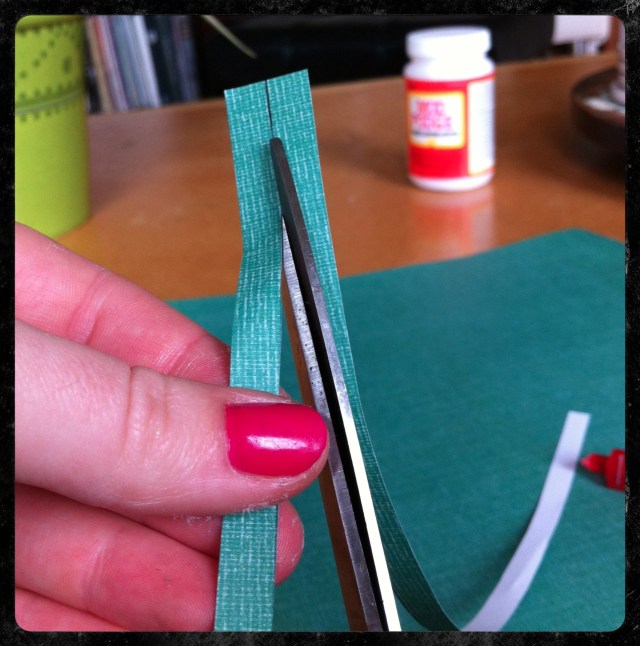
Carefully cutting along the fold
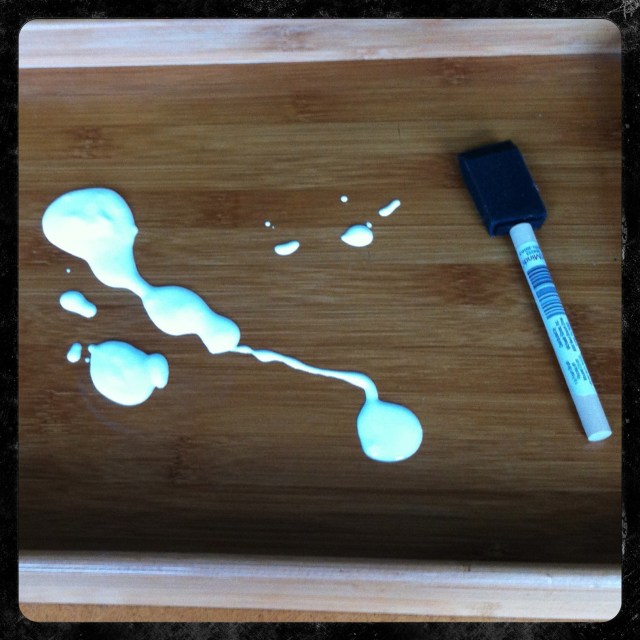
Mod Podging the tray face
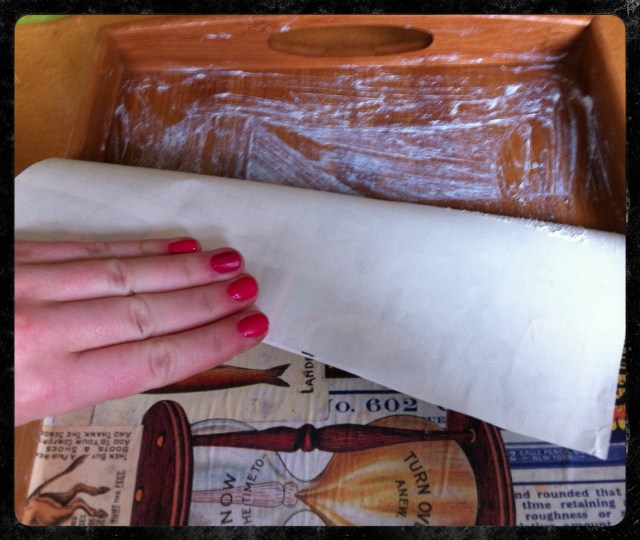
Sealing the paper onto the tray face
 I decided to add green stripes to the tray since it seemed a bit boring with just the paper. We have lots of lush happy plants growing in our living room, so I thought that having a green accent would tie the tray into the room better.

Green and gold accents

Mod Podging the top layers
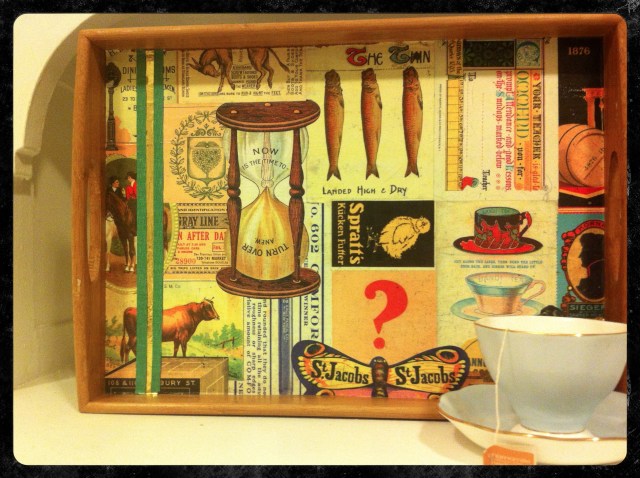
The final product!
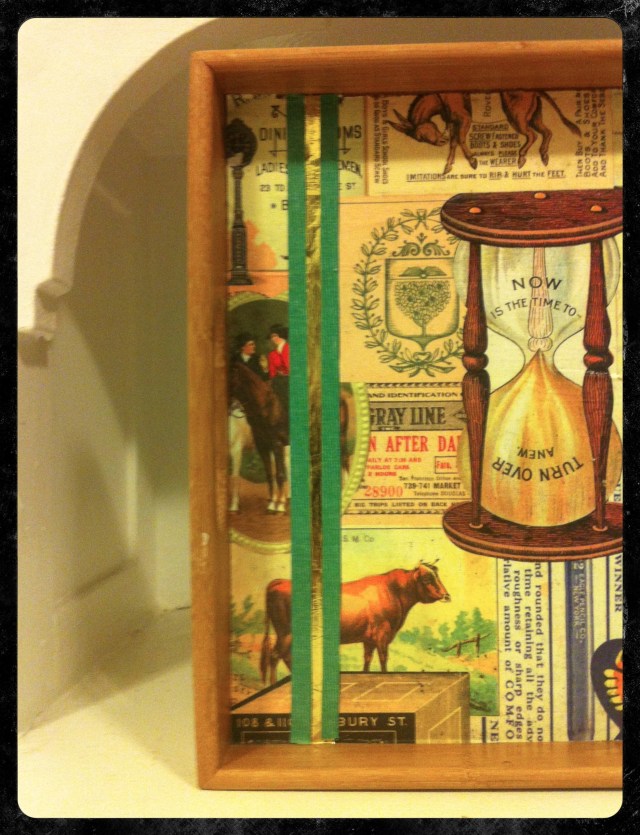
Close up on the stripe accent

Perfect for some teatime reflection?
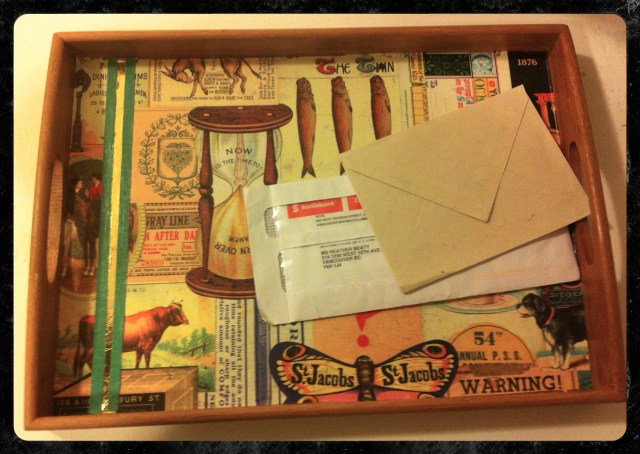
Or to stash the mail on your way in?


Pingback: Cranberry Hazelnut Granola | Blue Owl Treats