
Well HELLO again! After a month blog-cation, I’m stoked to be back. Feeling all fired up and ready to share some delish recipes and crafty ideas with you! Hard to believe it’s been a month since I last dropped a line. How have you been? I’ve missed you.
I hope you had a luxurious break spent cozying up with those you love. What did you get up to? My holidays were jam packed with performances (over 20 concerts!), but in between it all I had a few lovely days off on the gulf islands with family and in the Callaghan Valley skiing up a mountain (it was intense!).
Happy 2014. It’s a new year. There’s something so liberating and fresh about that. Do you have any NY resolutions? I don’t usually make any, but this little quotation sums things up quite nicely for me. Let’s do this, ’14!
For the first post of the year, I thought it best to start off with a handy DIY project. A craft that will help de-clutter some of life’s chaos. Where to begin, right? Well, why don’t we look to the kitchen (of course) :). Let’s tidy up those cupboards!

Kitchen paraphernalia can get disorderly quite quickly. With all our jars, bags, tins and packages of this-and-that, it’s hard to keep things tidy for long. There’s nothing worse than fumbling around a packed shelf on a mission for a specific ingredient to no avail (darn you, cream of tartar!).
Today’s craft helps keep the pantry in order while adding a touch of class to your storage shelves. The project is also dirt-cheap! All in all, the total price is about 5 dollars. What a winner!
DIY Kitchen Canisters
Supplies:
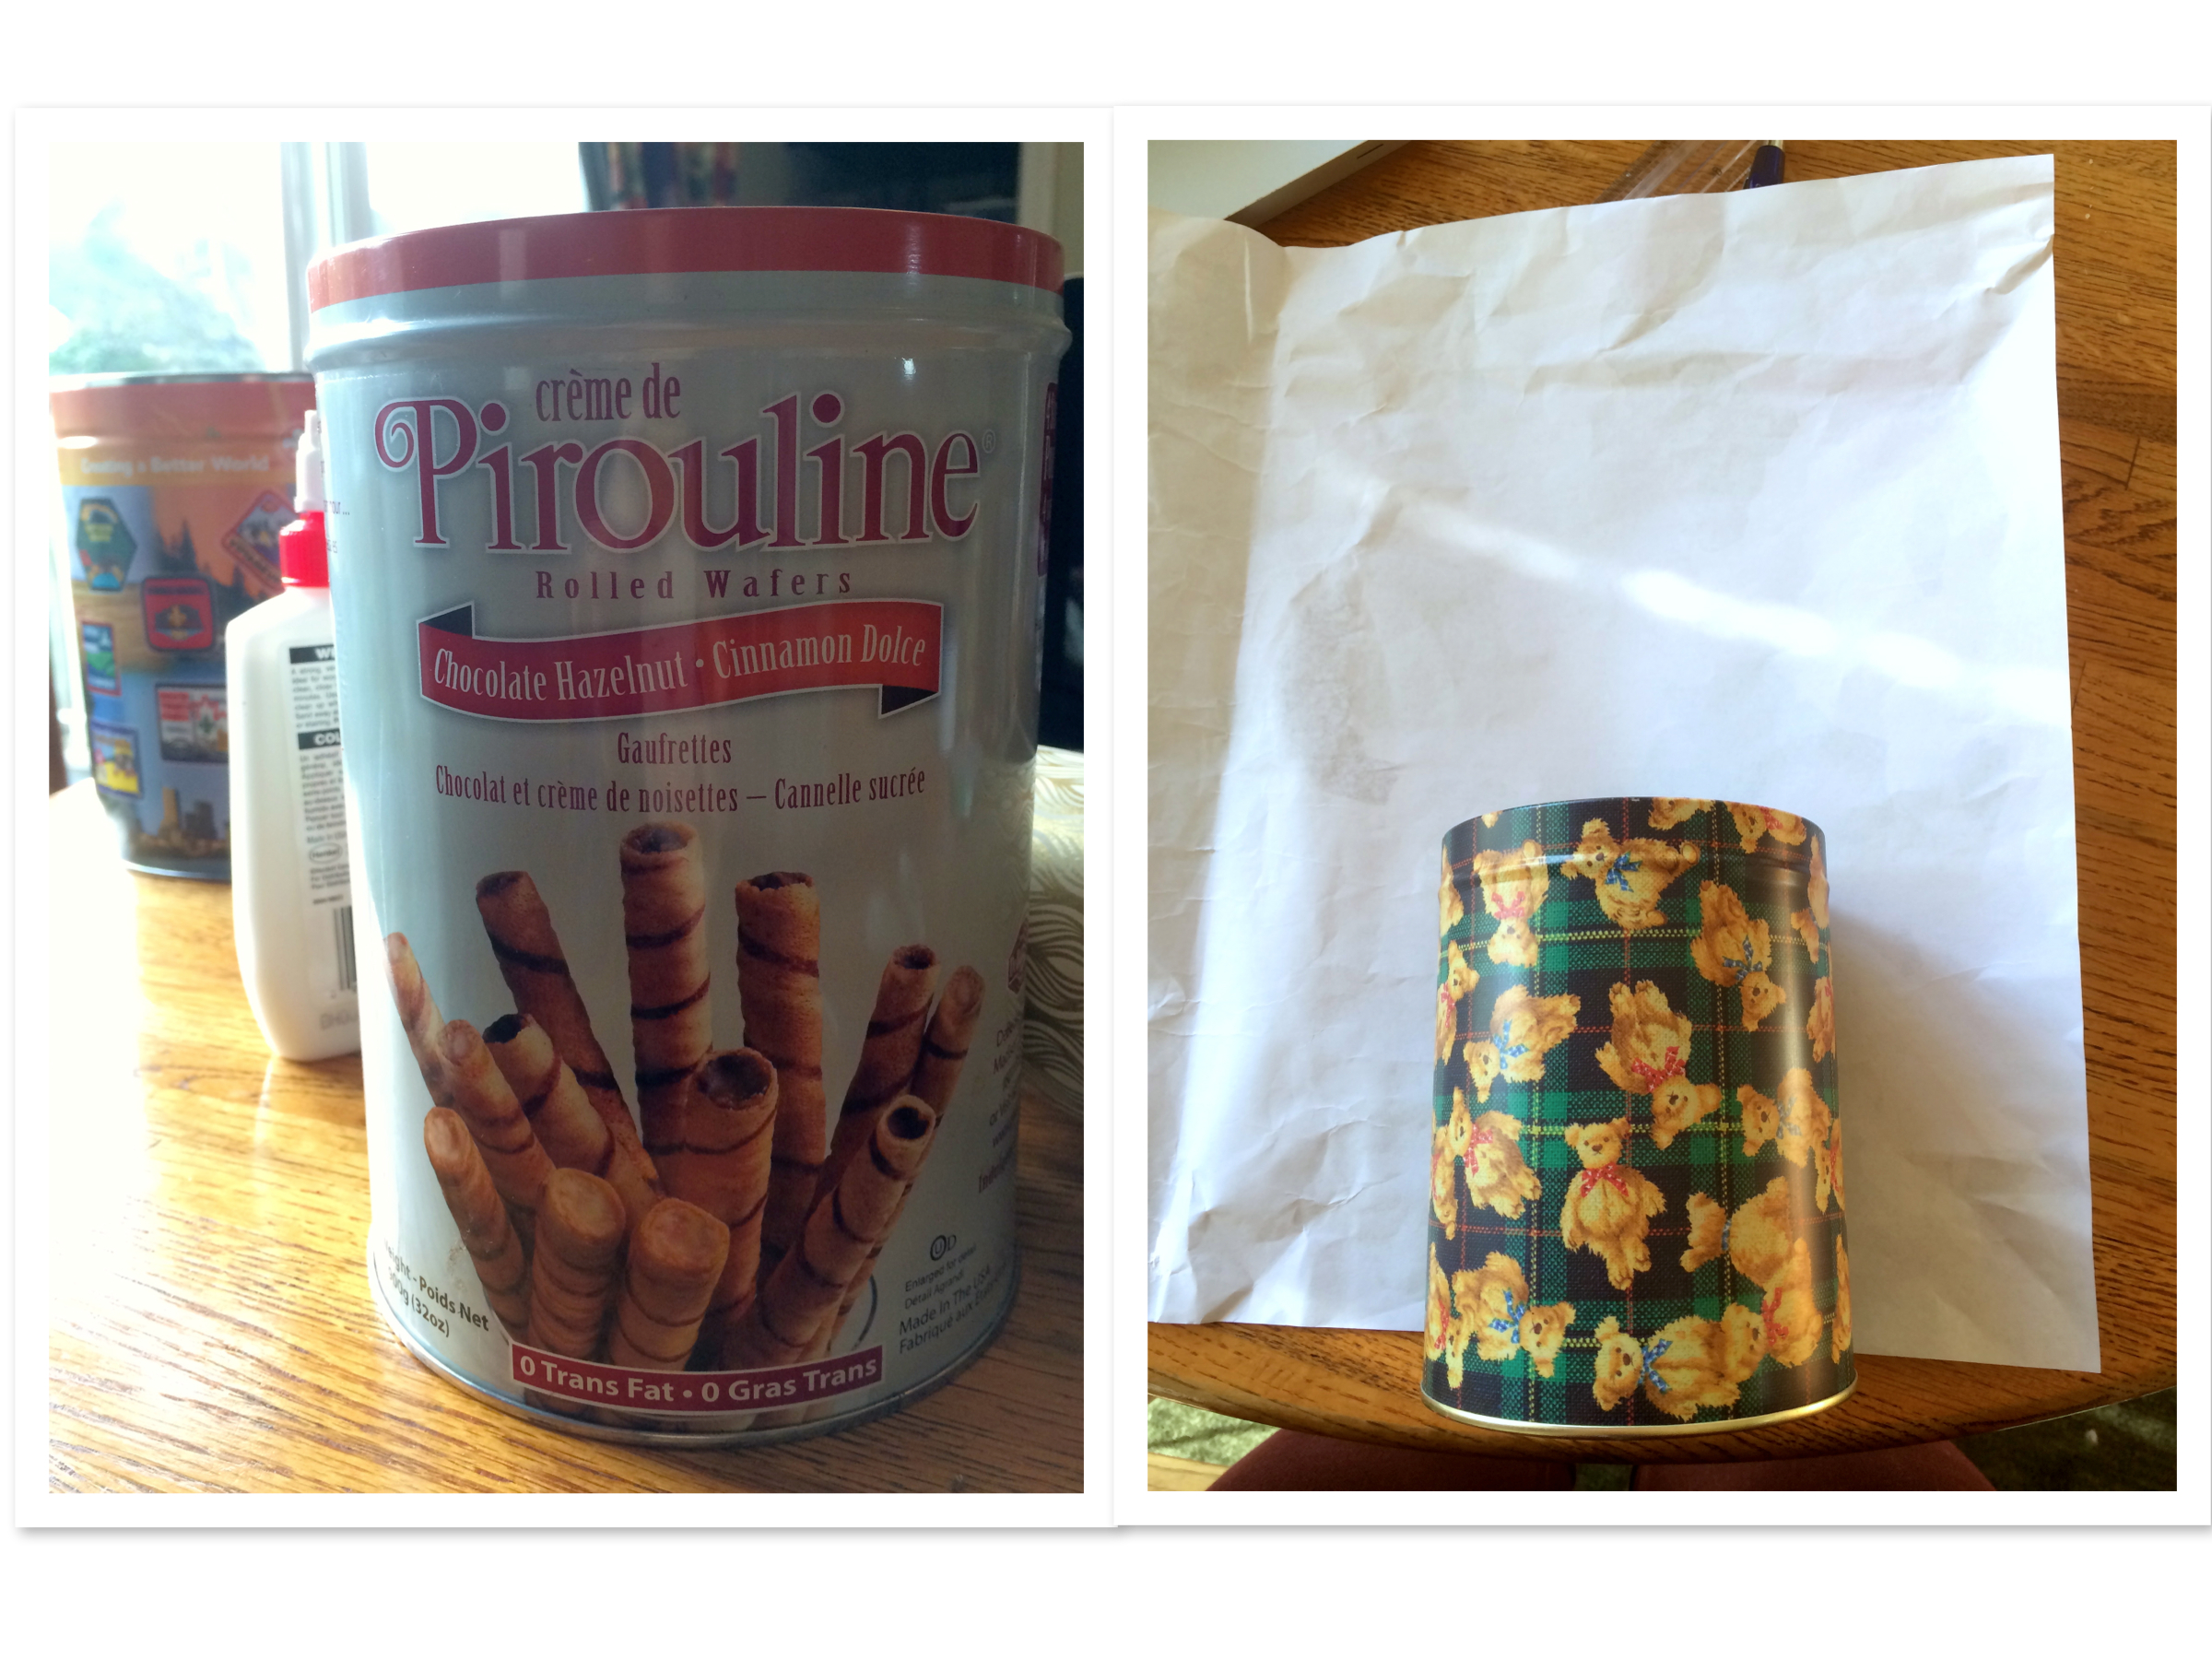
Old Tins (Cookie tins, tea tins, etc.)*
Pretty paper. (Have any leftover paper scraps from christmas?)
White Glue
Mod Podge
Chalkboard Paint
Paintbrush

*I found mine at a thrift store for 50 cents apiece!
Directions:
1. Clean and set tins aside. Lay paper flat on a clean surface. Measure out circumference of your tins by rolling them left to right over the paper, while keeping track of your starting point on the tin. Pencil in a line to mark the circumference measurement. Next, pencil in a line to mark the height of the tin. Add 2 inches to the top of this measurement. Cut out paper. It should be a large rectangle.
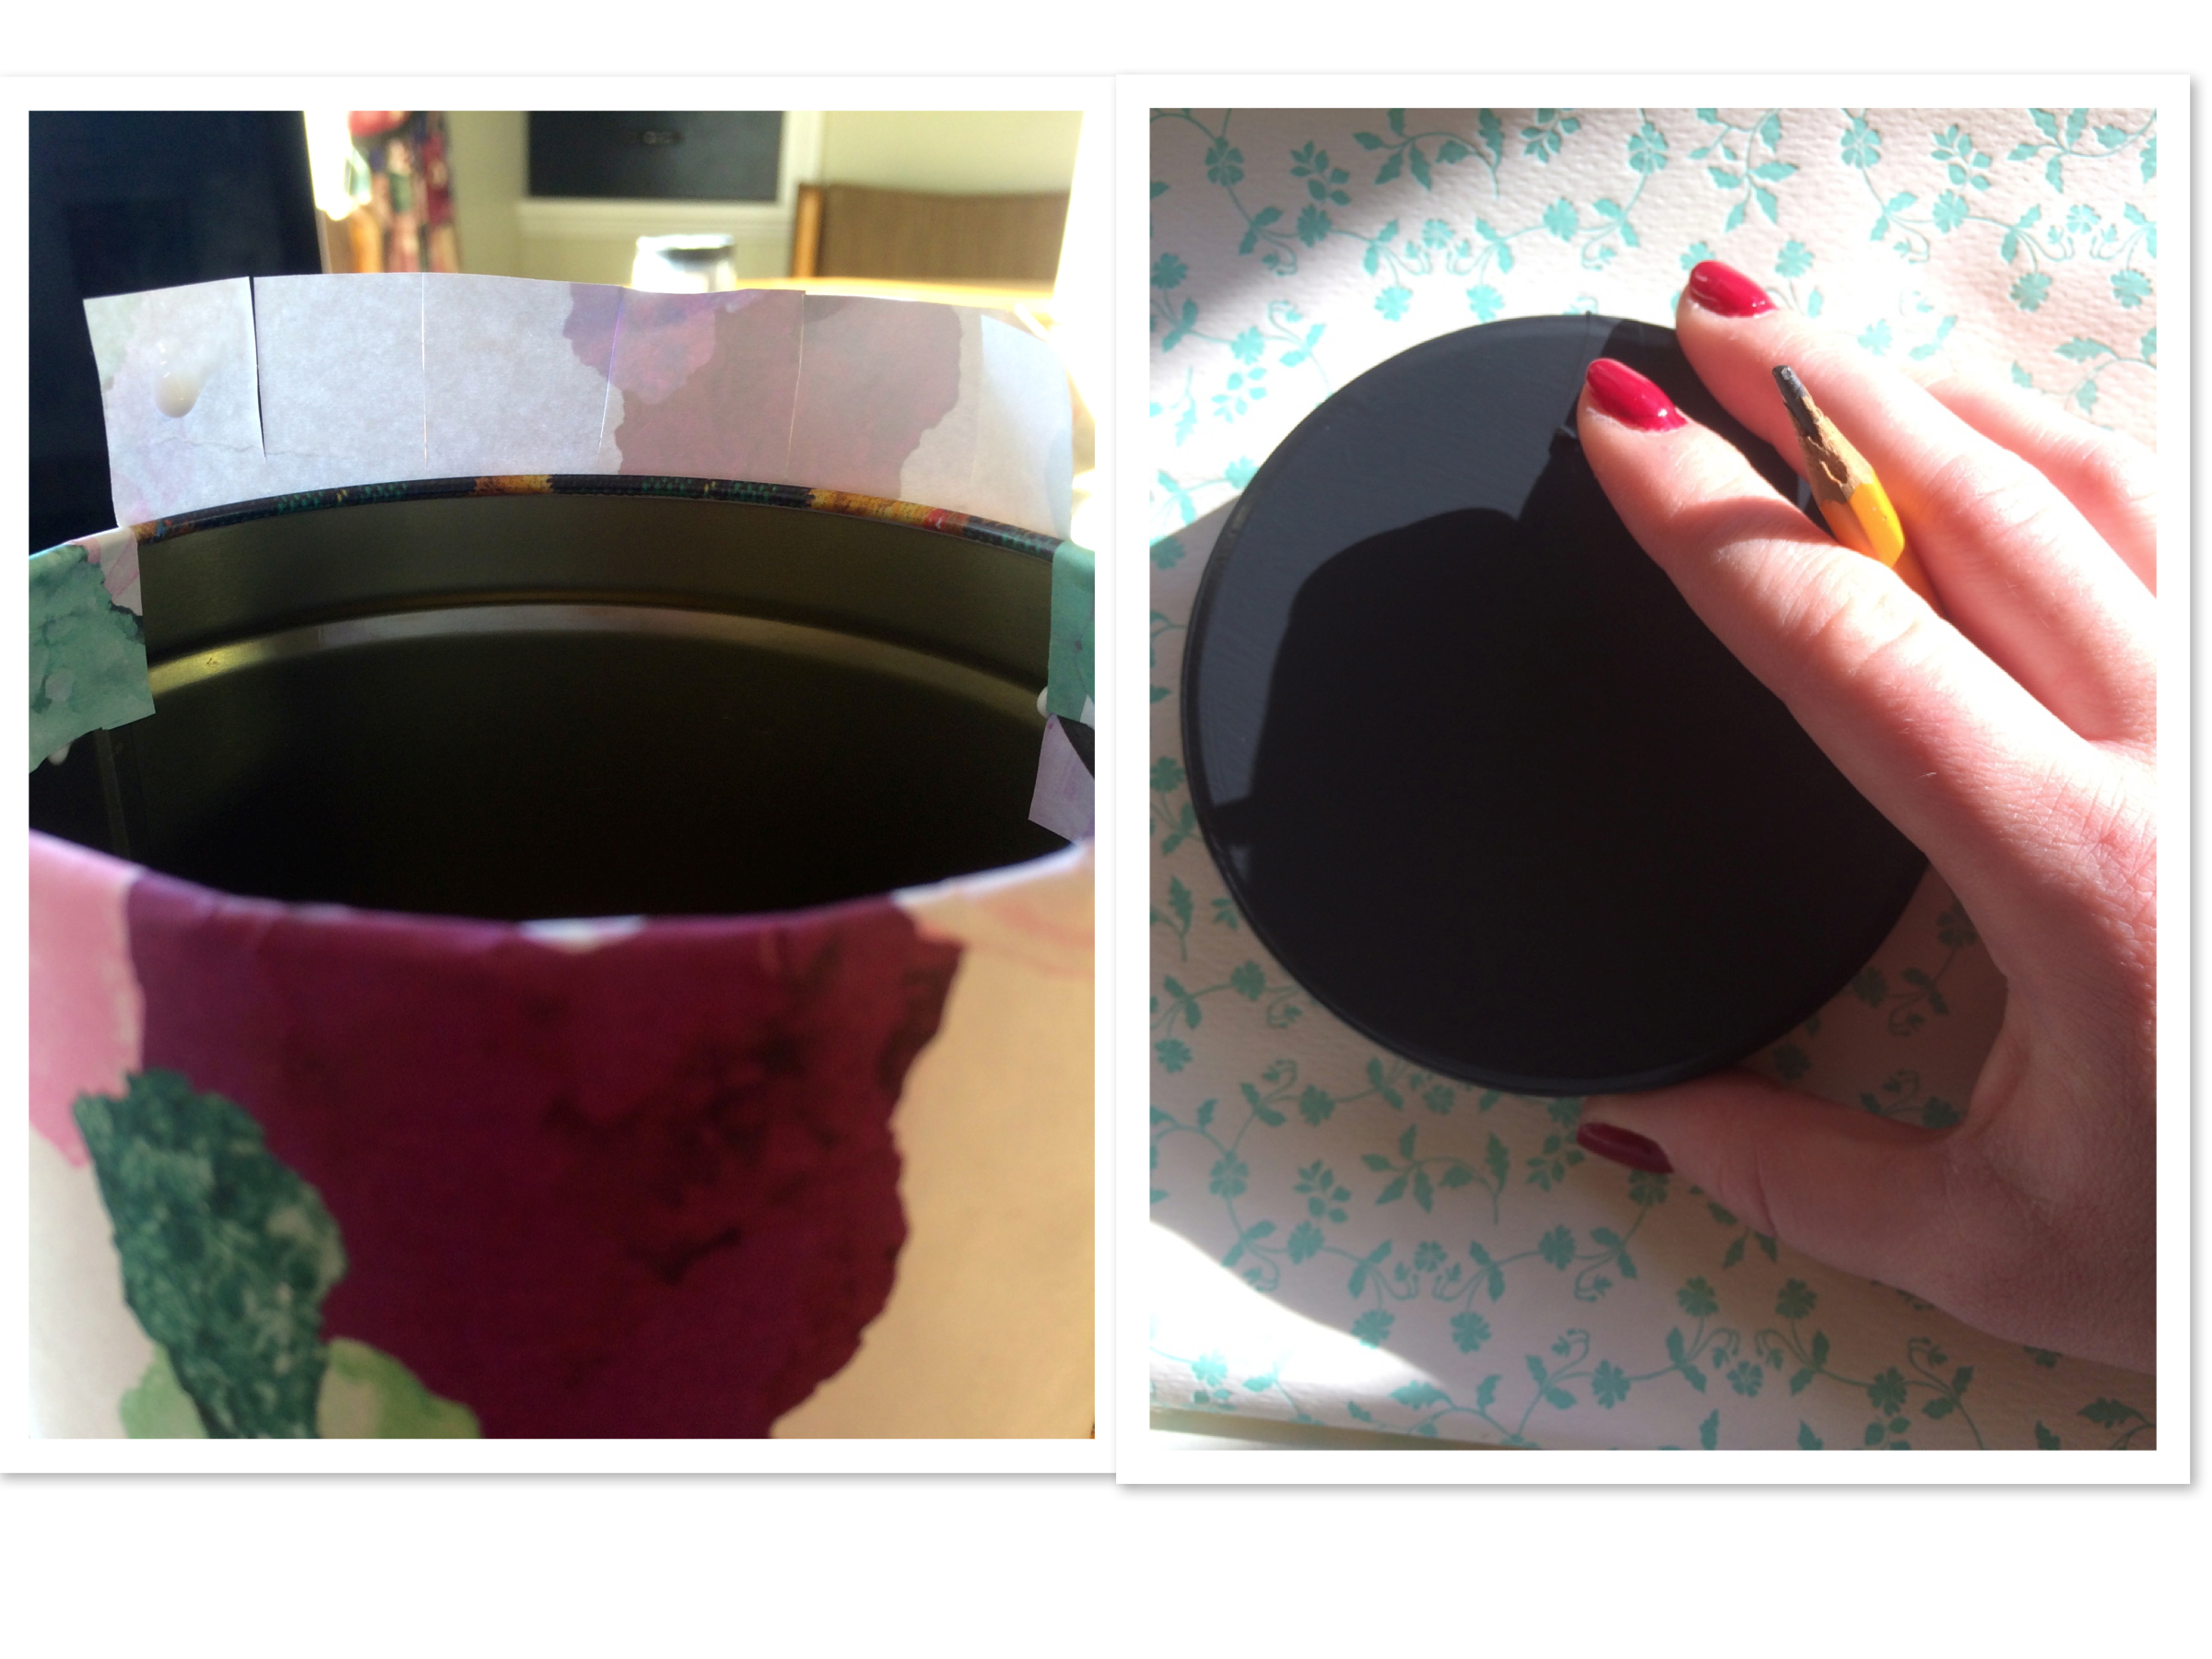
2. Draw a line of glue along the bottom length of your tin. Carefully line up rectangle’s edge with the bottom of the tin and wrap the paper around. Glue the paper’s meeting points in the same fashion but with a long line of glue going up the height of the tin. The top of the paper should be sticking up and over the tin.
3. Cut small slits (approx 1 inch) down the top of the paper and fold over the tin’s top edge. Gently glue each of these slits down to make a neat top to your tin.
4. Paint 3 coats of chalkboard paint to the lids of your tins, allowing each coat to fully dry before applying the next.
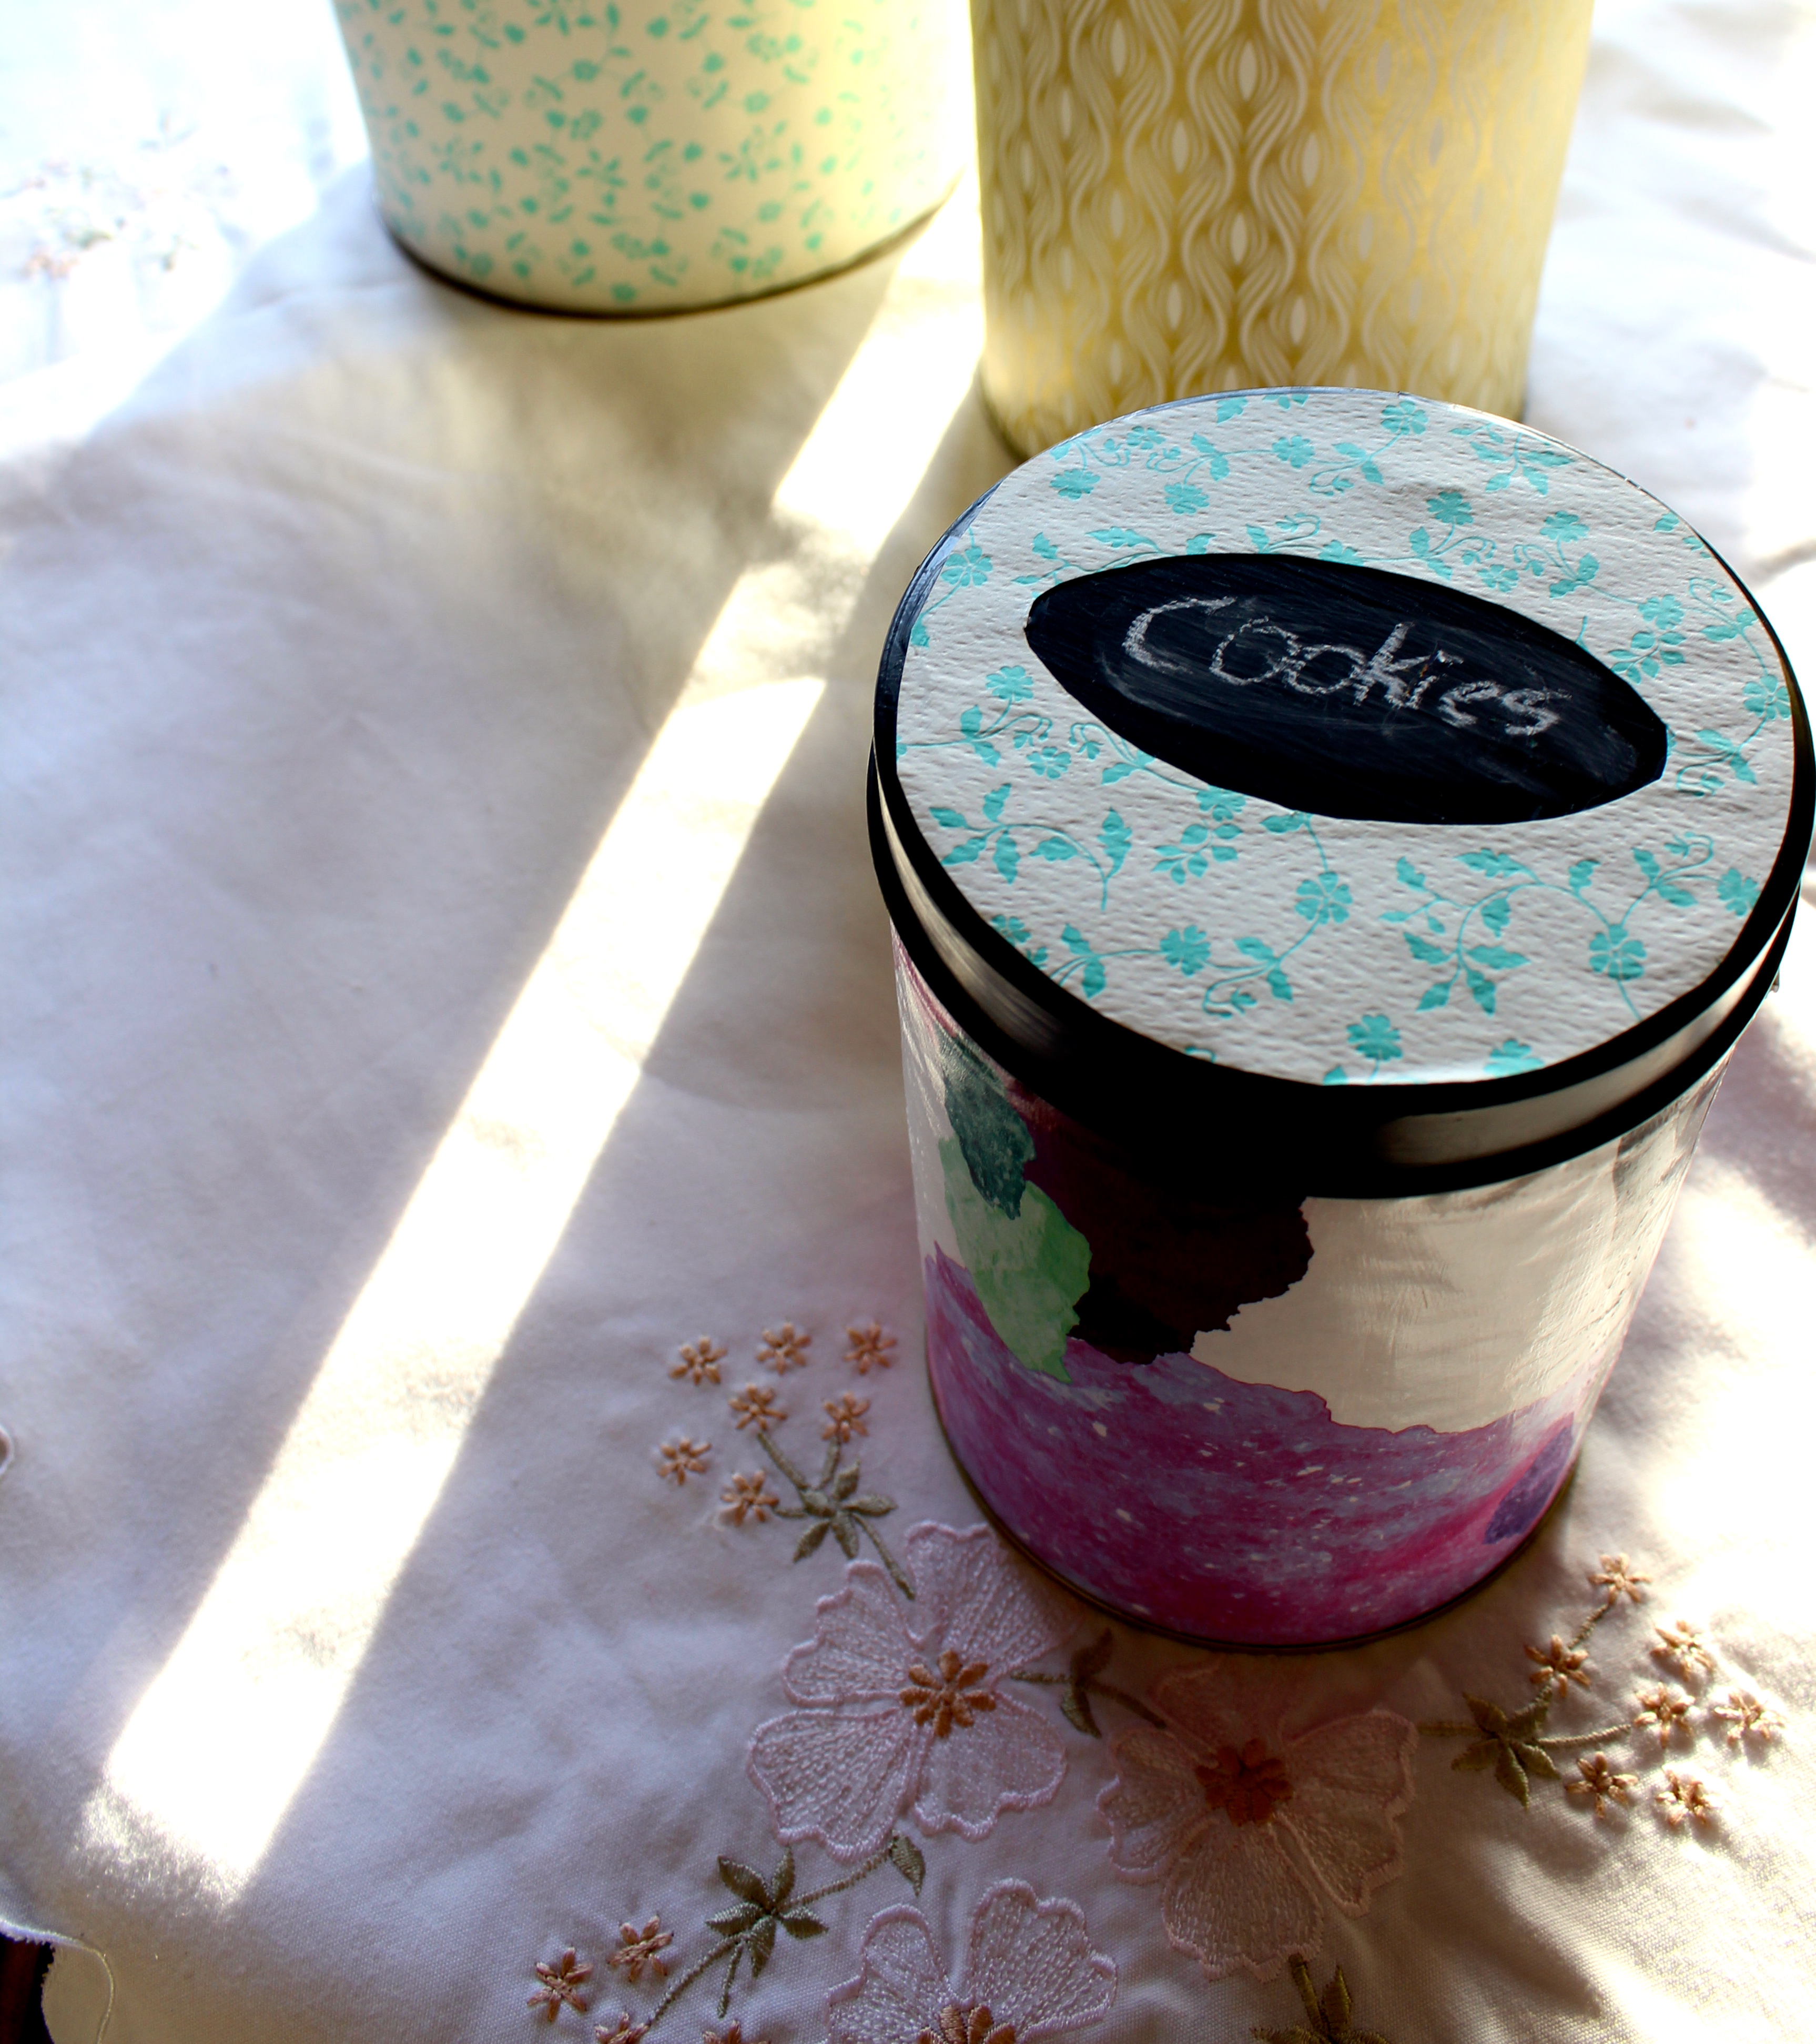
5. Leave lids plain with the chalkboard paint, or decorate as you like! I glued on contrasting paper to the lids to mark a clear label area on their tops.
6. Mod Podge over the tin’s paper exterior with 2 coats of mod podge, allowing each coat to dry fully before the next application. This will allow your paper to stay protected from dirt/dust in the future and be easily cleaned!
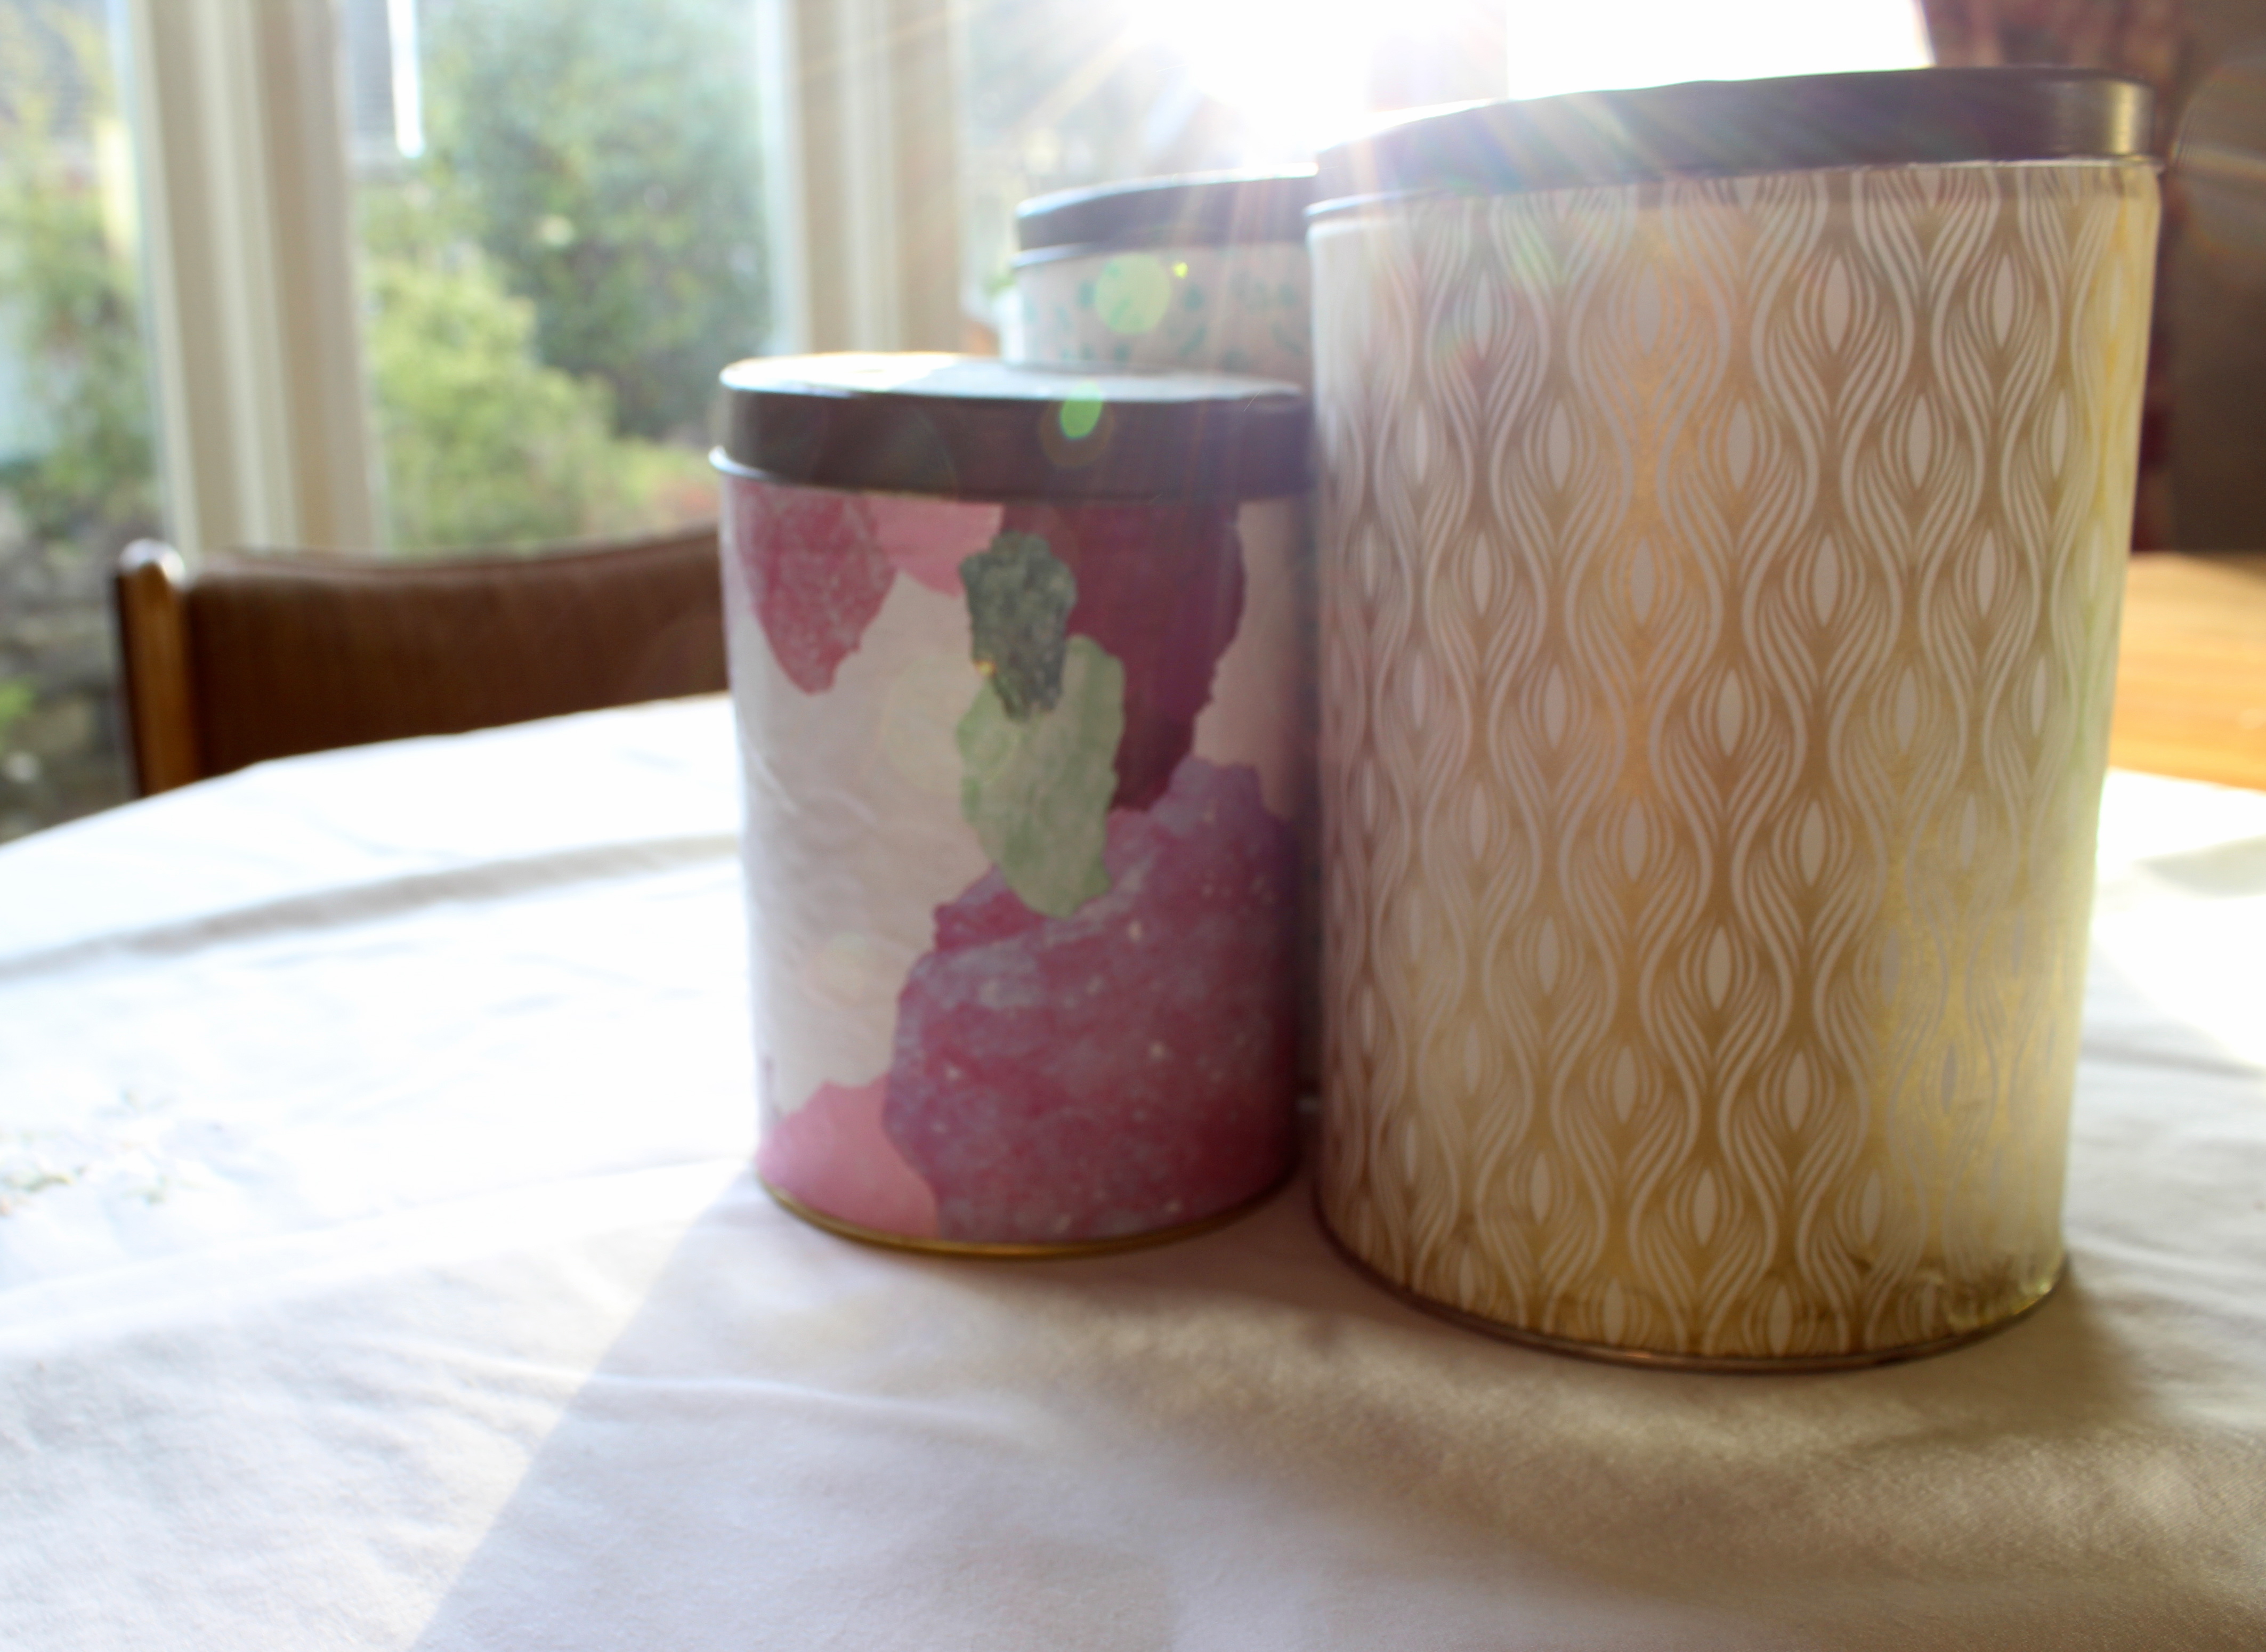
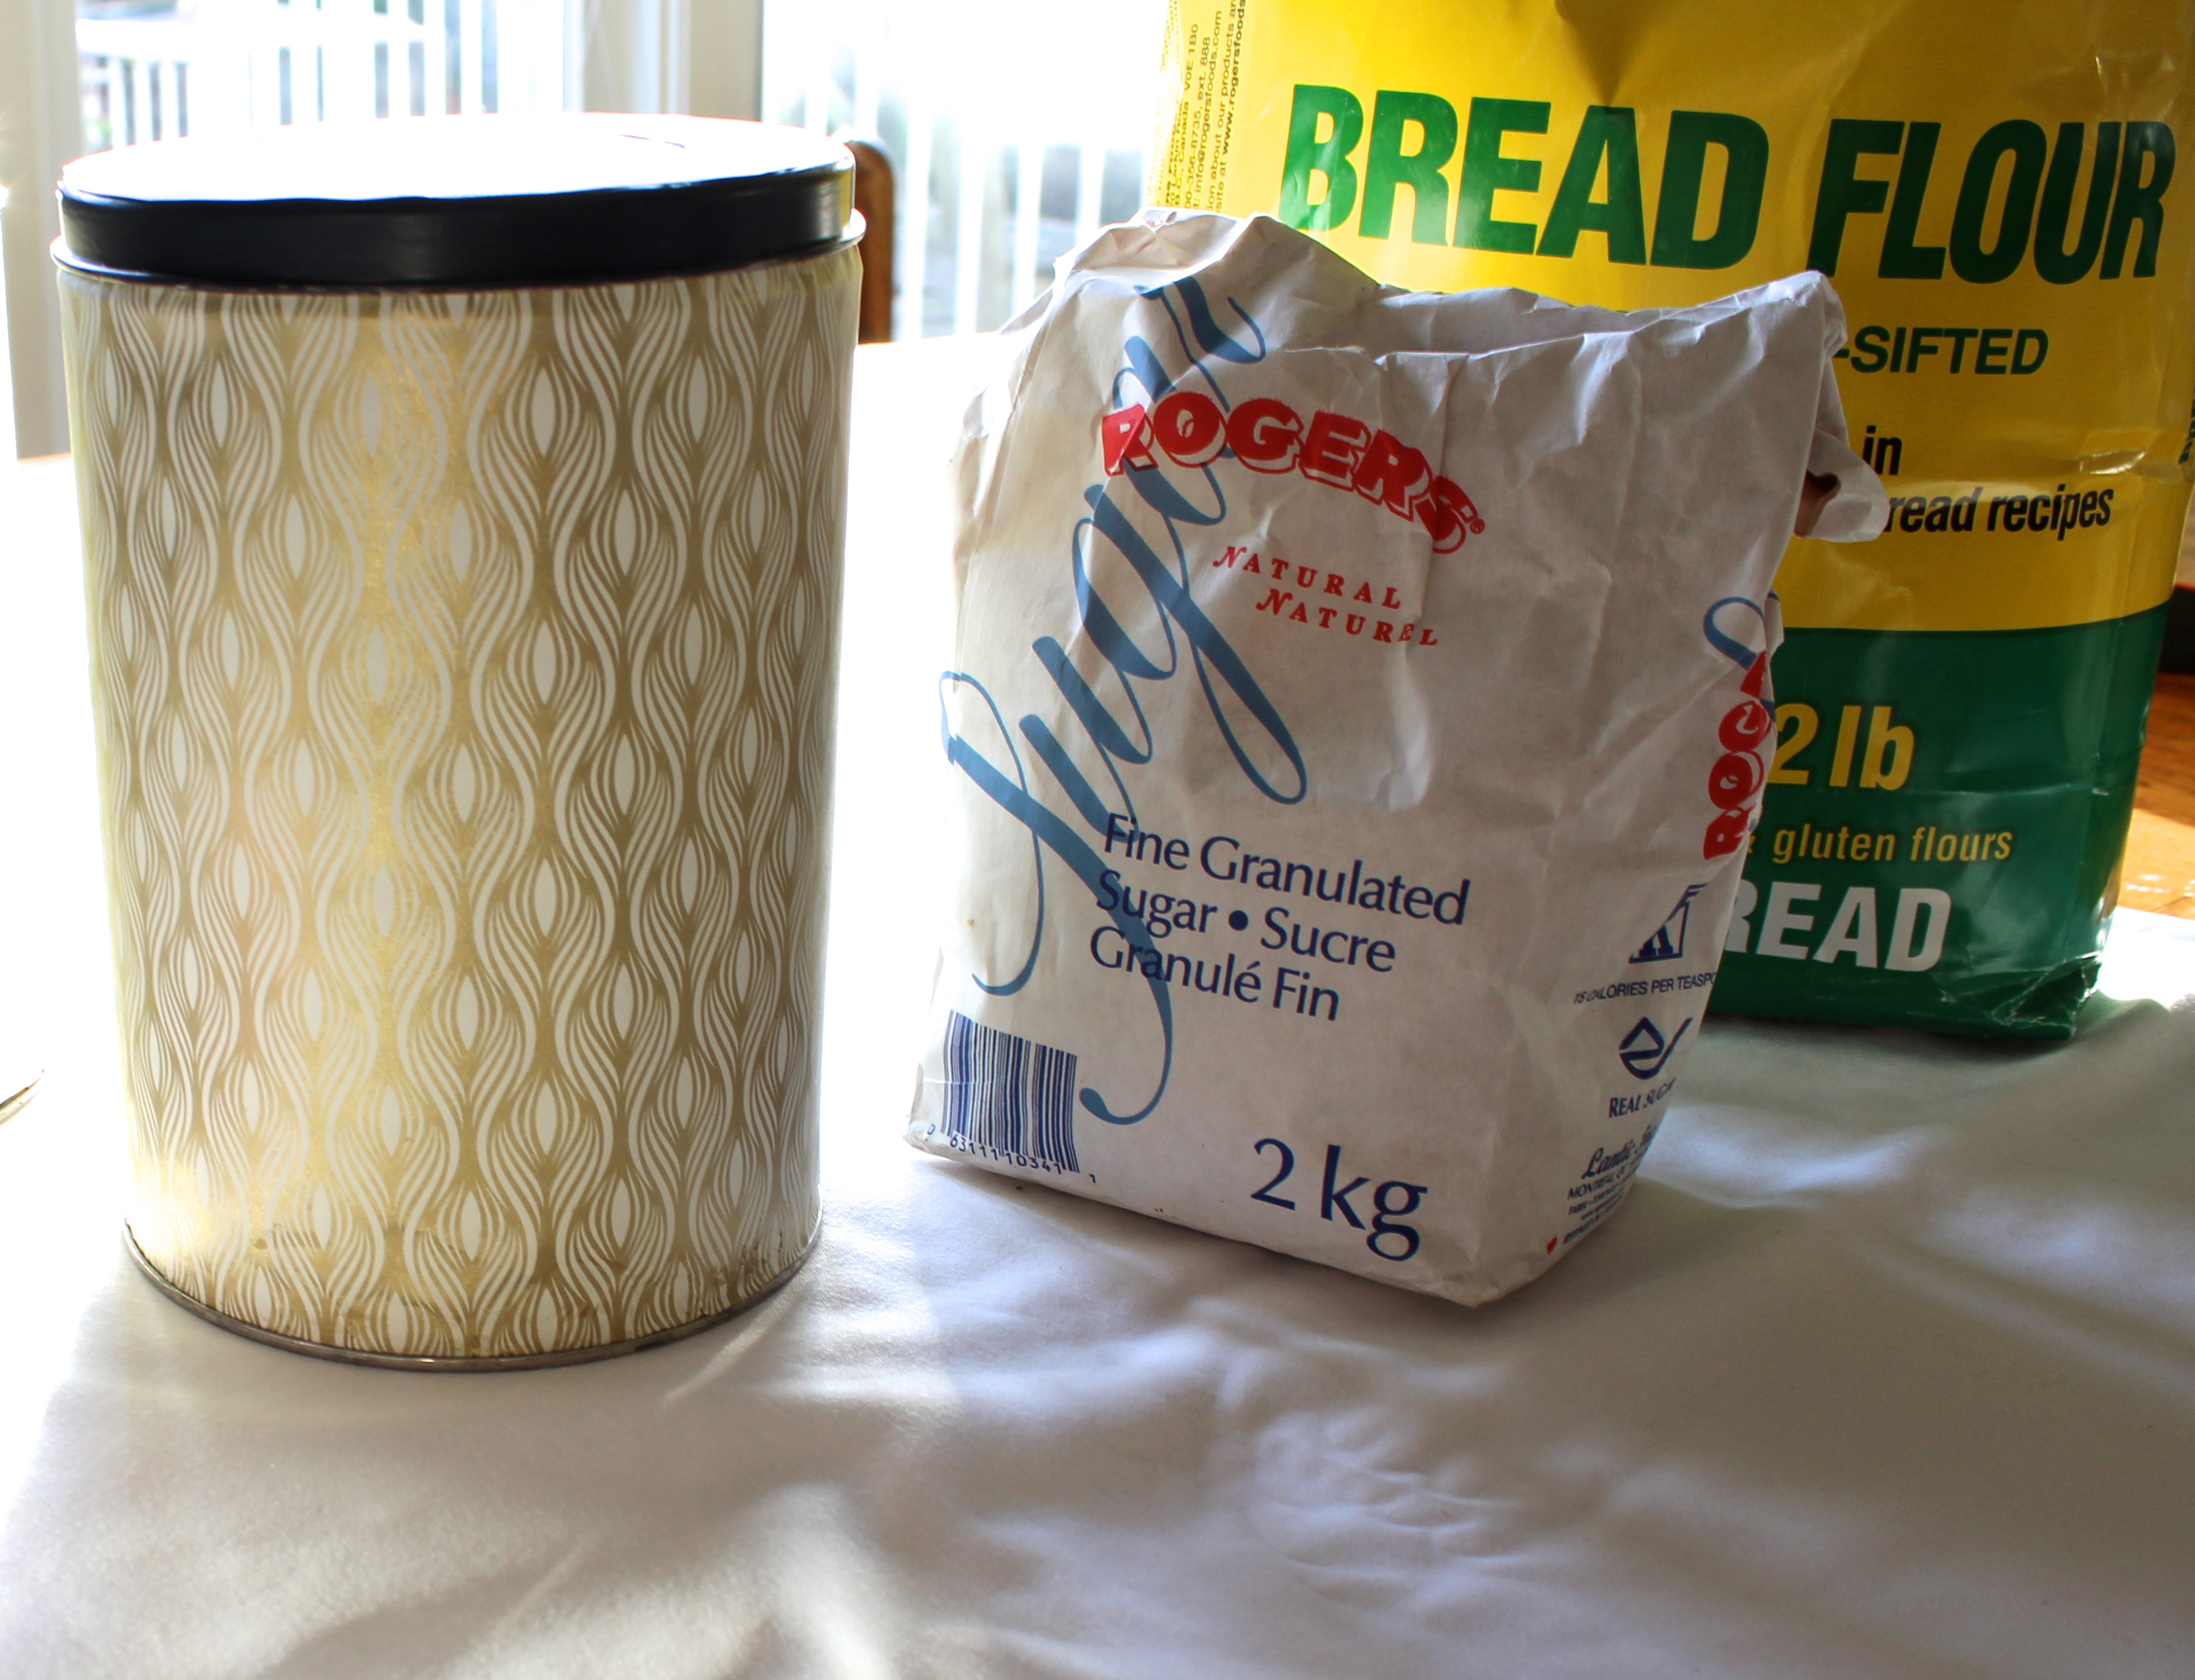
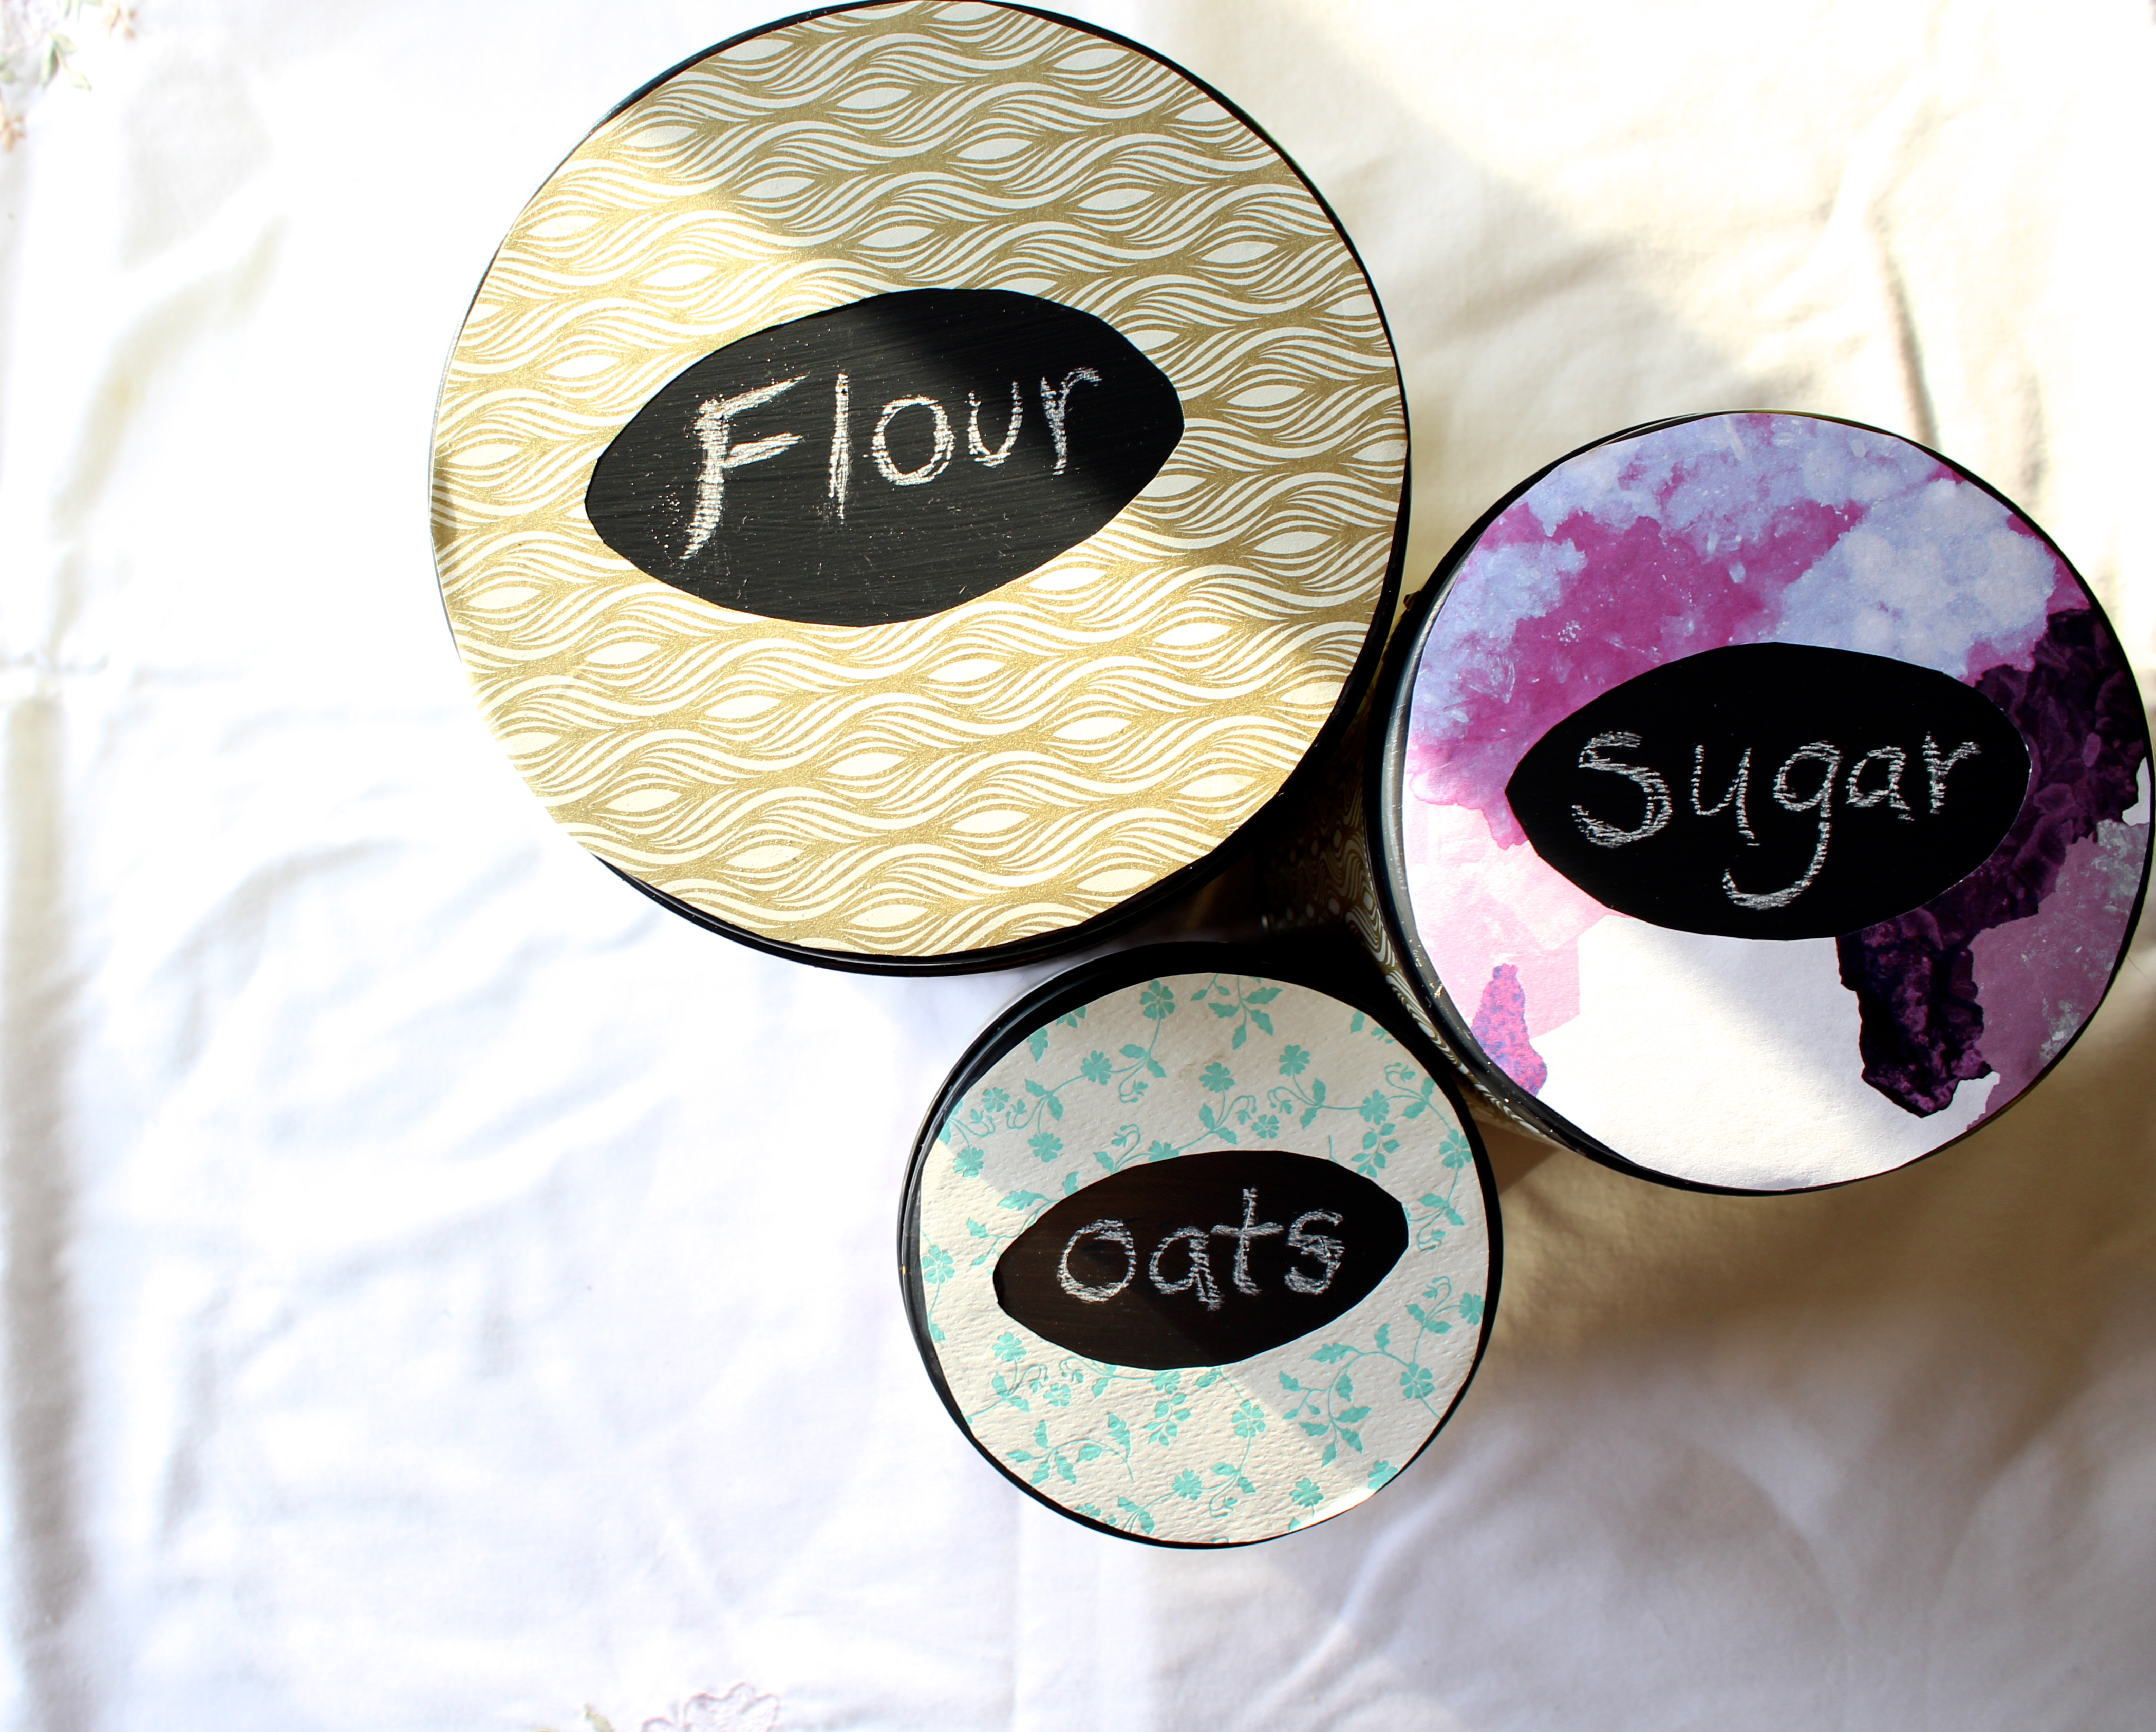
7. Fill your tins with whatever you like! I will use mine for flour, oats, sugar or of course as a cookie jar tin! Your chalkboard painted lids are awesome, because you can label them as you see fit and change things up now and then.
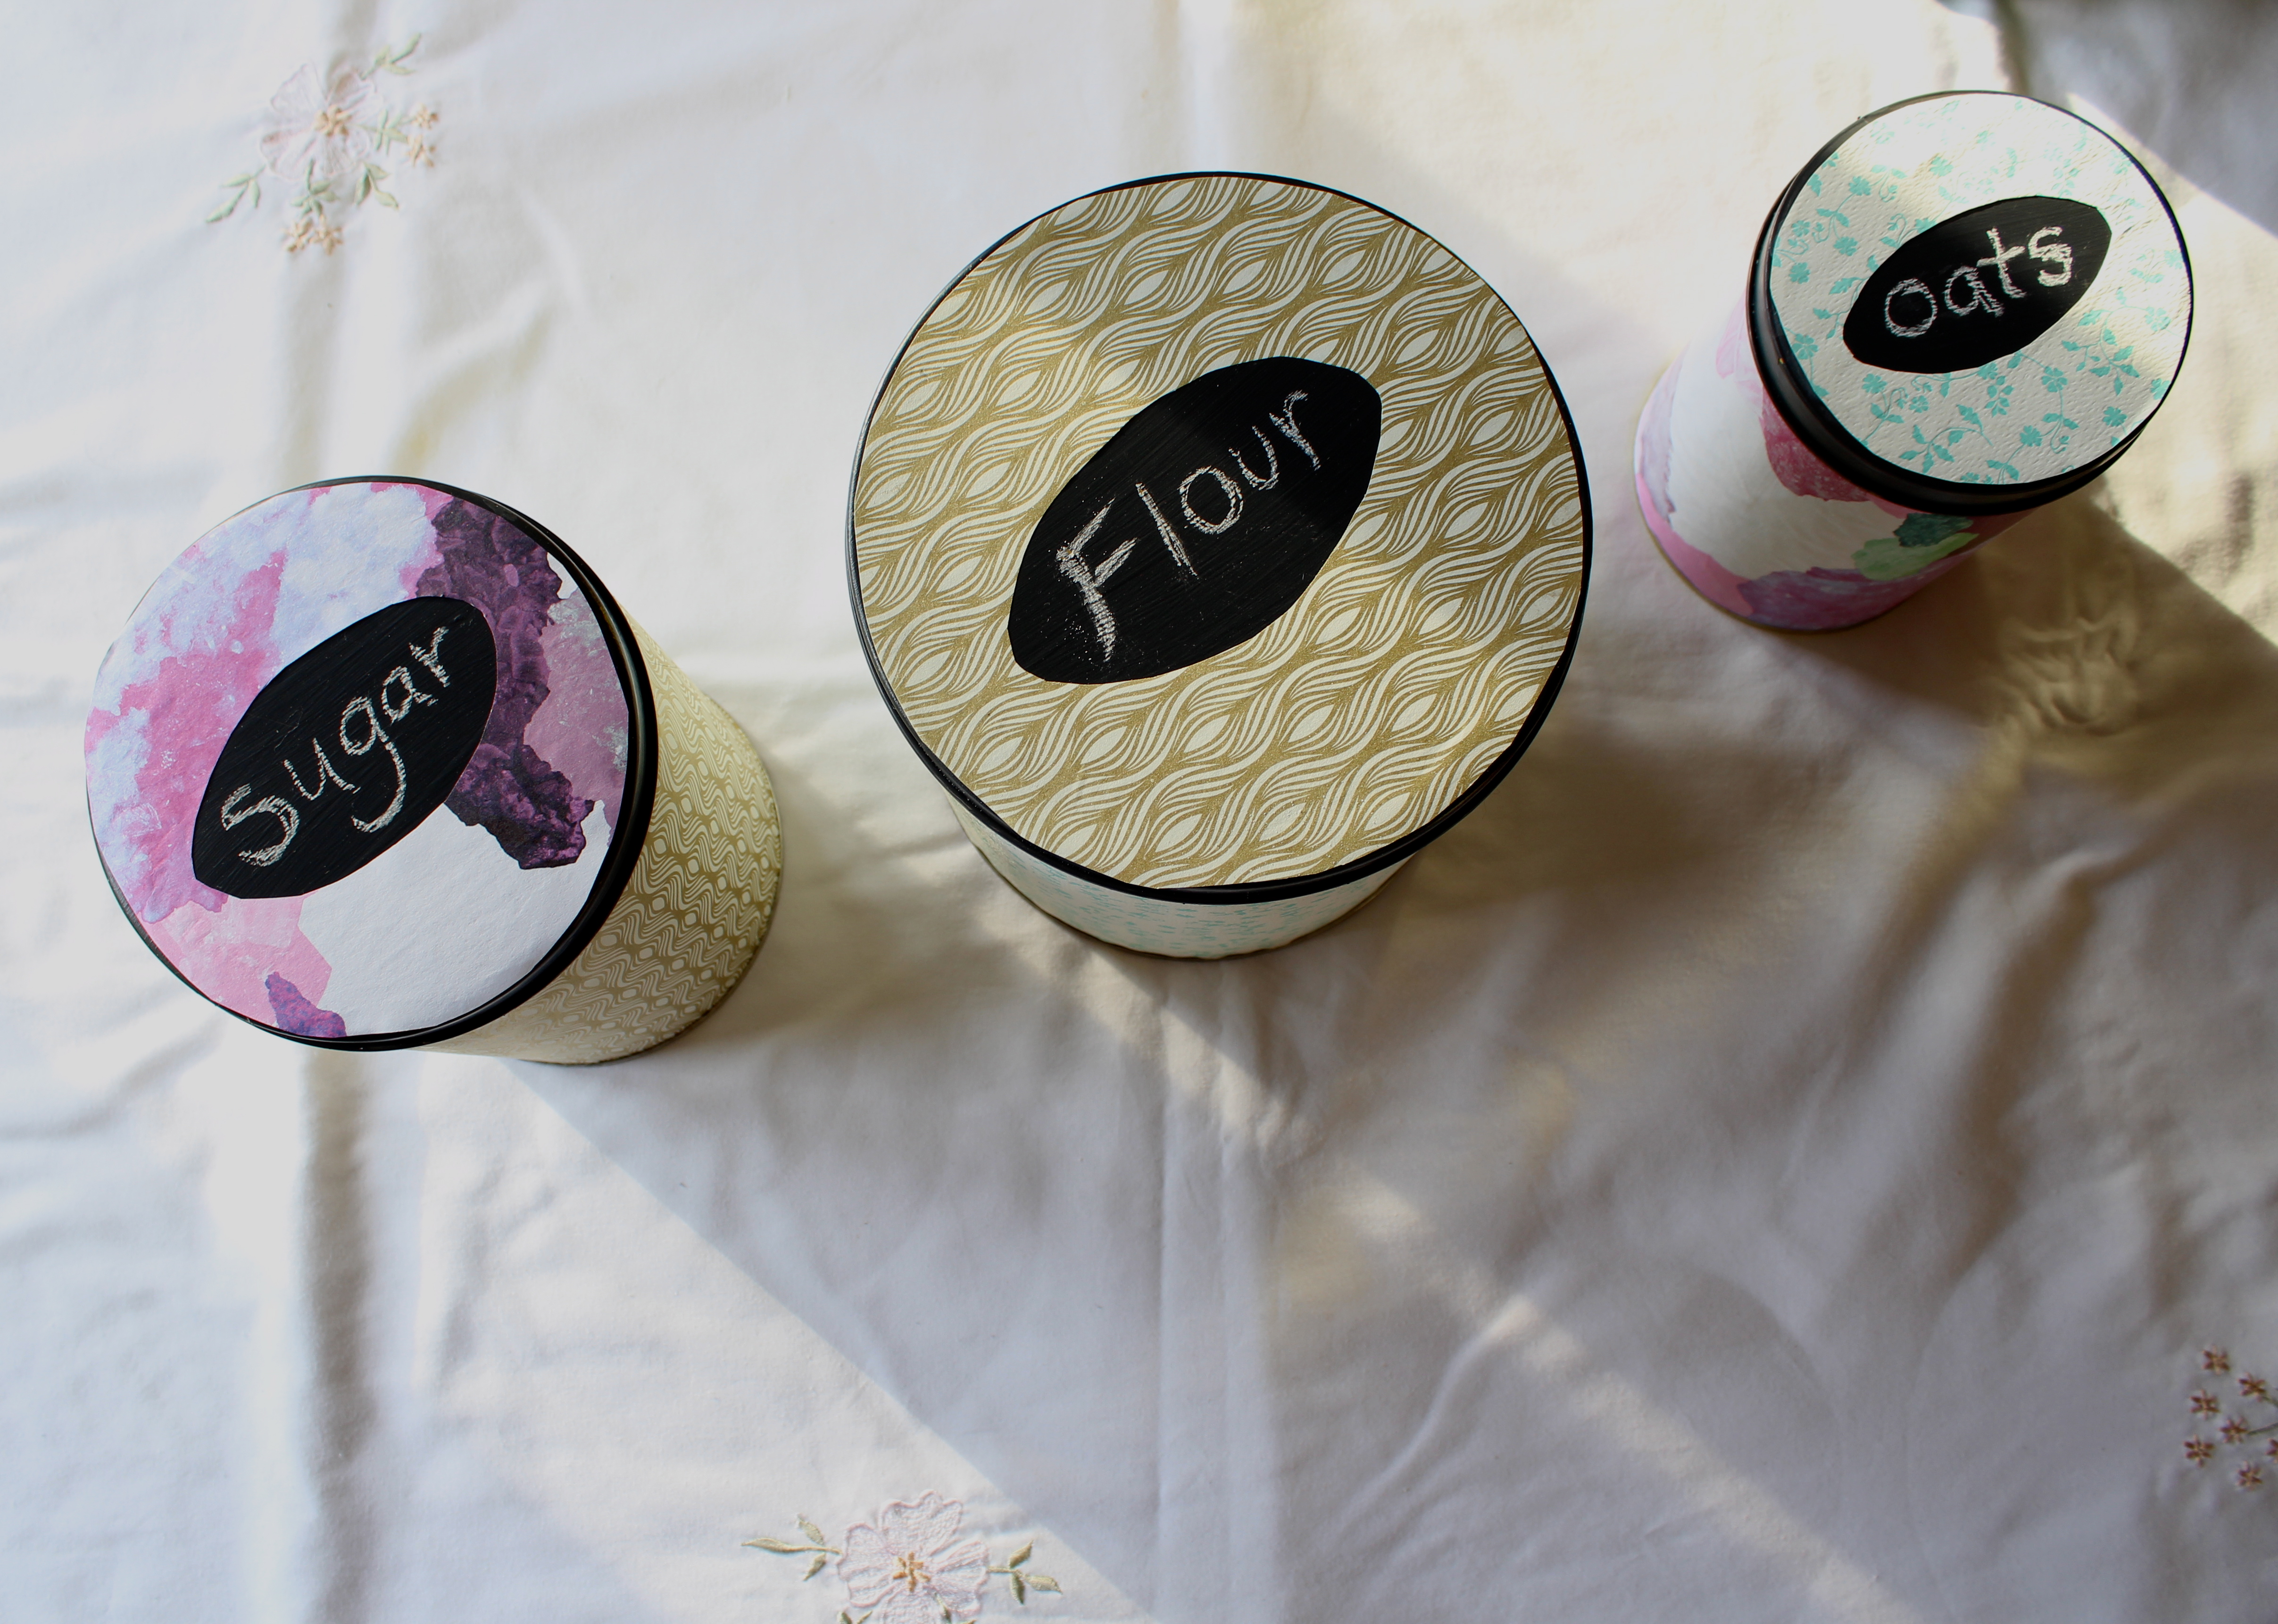
And there you have it. New year, new kitchen deco! Are you happy with your custom designed kitchen canisters? They will make reaching for the sugar bowl that much swankier this year! ;)
I hope you have a wonderful week ahead full of exciting plans. I am taking it easy, but am really looking forward to watching this film on Wednesday night. The reviews are incredible. Have you seen it yet?
PS: Am now a proud owner of these stunners. (yaaa!)
PPS: The sound of taste


