
 Vancouver, I hope you had a brilliant weekend!! It was the warmest of the year according to
Environment Canada with temperatures reaching 26 C in the Vancouver Harbour! Hot damn! Summer graced the city with her beauty and the city’s beaches quickly turned into real-life Where’s Waldo scenes on Sunday. I had fun yesterday joining the masses on Kits Beach where I got a good crack at my base burn. No, not tan my friends. Burn. All thanks of course to my pearly Scottish heritage!!
I will definitely need to go into hiding this week to save my skin from the scorching rays for a little bit. In the meantime I couldn’t think of a better moment than now to share a new recipe with you! Today’s recipe celebrates everything buttery, sugary and baby related…

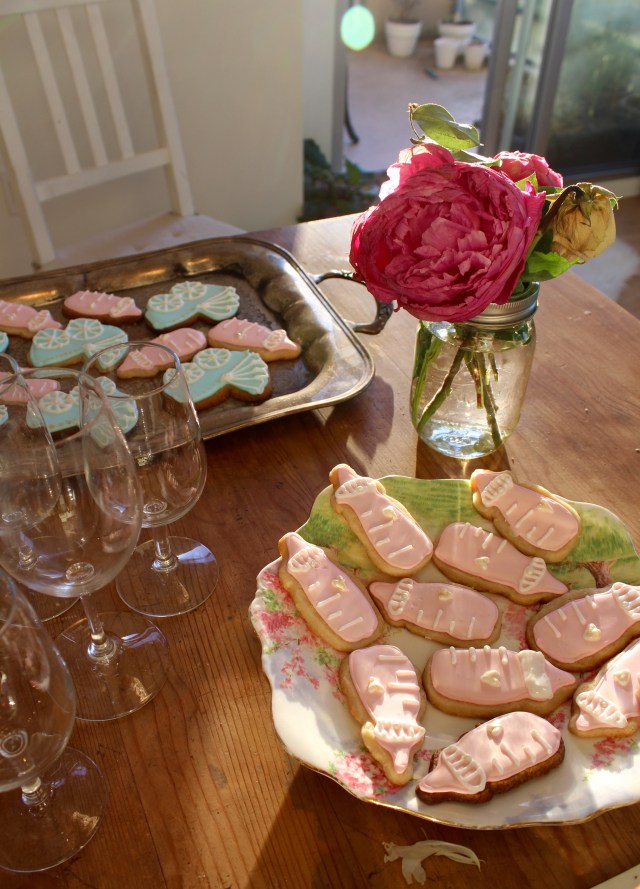
Before we dive into the details, I should say that in all brutal honesty when I wasn’t in the sunshine this past weekend I was going berserk in the kitchen baking some goodies for my sister’s baby shower. One of the recipes that I made was a batch of simple butter cookies with royal icing. Such a classic! If you feel at all daunted at the task of icing, cutting and preparing butter cookies, I’m here to help with some step by step directions below.
Despite the fact that baking takes up so much time and effort, moments like last weekend make it all feel so worth it to me. For my immediate family, this is the first baby that we are lucky to welcome into the clan. I couldn’t be happier for my sister and her husband this summer and am truly honoured to be the baby’s aunt!
 Gawd I am excited to pamper the little babe. Time to shower them with love in the way that I know best! Cakes, cookies you name it. Full on. I am going to be that kind of aunt I already know it!!
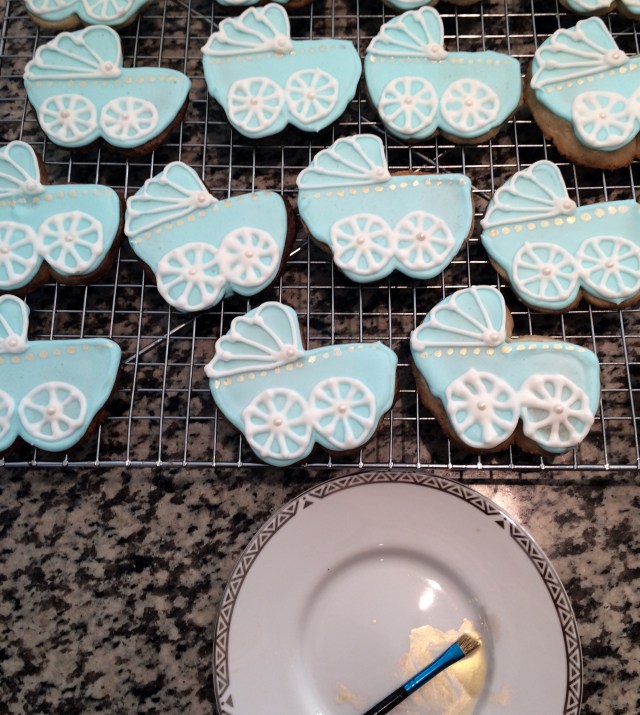
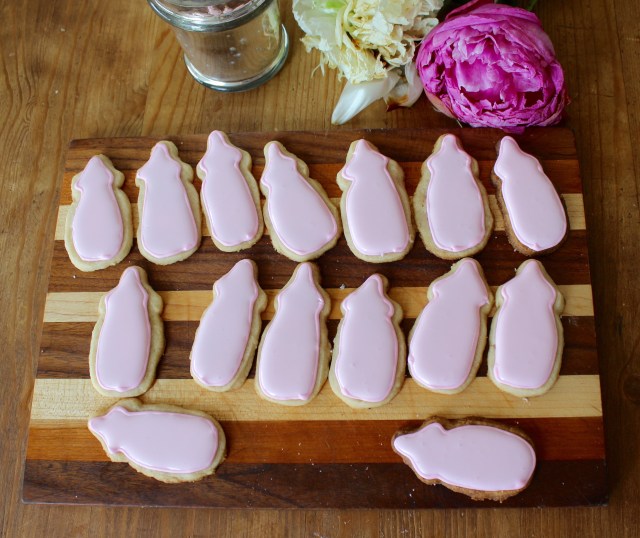
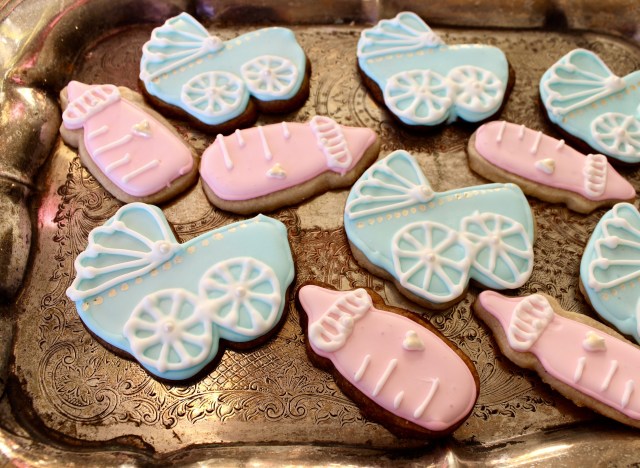
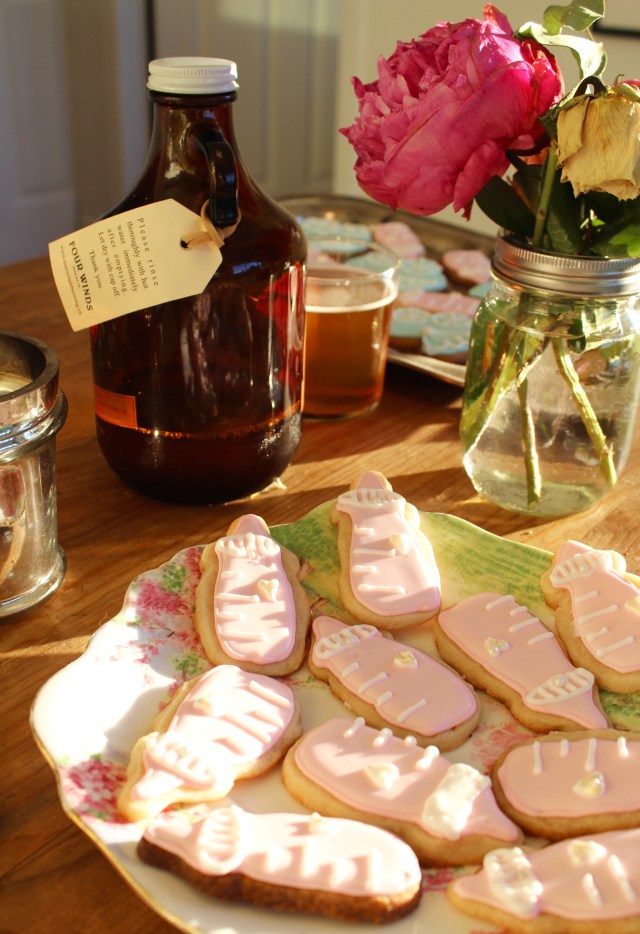
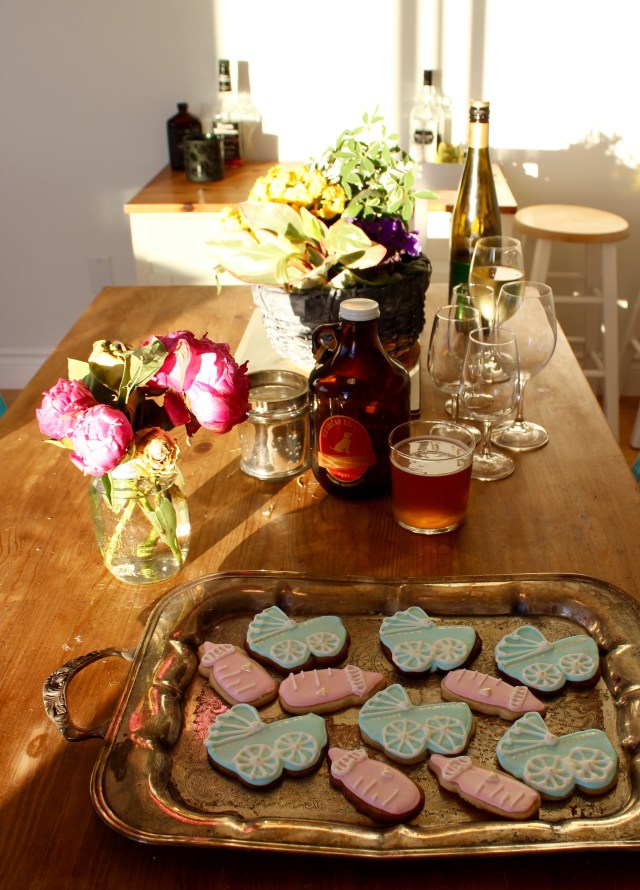
Baby Bottle and Carriage Shaped Butter Cookies with Royal Icing
Butter Cookie Recipe:
yield: 24 cookies. Bake: 350 F. Time: 3 hours prep time, 15 mins bake time.
Ingredients:
3 cups all purpose flour
1 1/2 tsp baking powder
1 1/2 cups butter, room temperature
3/4 cup icing sugar
1/2 cup granulated sugar
2 tbsp pure vanilla
Directions:
1. Preheat oven to 350 F
2. Sift together the dry ingredients or whisk them together in a medium sized bowl. Set aside.
3. In a stand mixer with a paddle attachment, cream together the butter at room temperature and the sugars on medium to high until the mixture is light and fluffy. Scrape down the sides as you mix.
4. Turn the mixer to low and slowly add the dry ingredients until fully combined.
5. Shape the dough into a large disk and pat down to 1 inch flatness. Wrap the disk in saran and chill for at least an hour.
6. Divide disk in two and place half of the dough on a lightly floured work surface or on parchment paper. Use a rolling pin and roll dough to 1/4 inch thick. Keep it somewhat thick! :)
7. Use the cookie cutter of your choice (I used these cutters!) and cut out about 12 cookies. Carefully transfer cookies to your prepared cookie sheets and place cookies 1/2 inch apart. Combine dough scraps and reroll dough to cut more cookies. It might mean refrigerating the dough again so that it is cool when you work with it. Avoid overhandling the dough.
8. Repeat the rolling/cutting steps. Bake cookies in the oven for 15 mins or until they are lightly browned around the edges.
9. Remove cookies from oven and allow to cool for about 10 mins on their sheets. Carefully transfer cookies to a wire rack to cool completely.
Recipe Credit: Adapted from Butter Baked Goods, Rosie Daykin.

Royal Icing
Supplies needed: Gel colours, 2 piping bags, 2 decorating tips with small round ends. Patience. :)
Ingredients:
4 cups icing sugar
2 large egg whites
3-6 tbsp cold water
Directions:
1. Place piping bags fitted with tips in two tall glasses. Drape edge of piping bags over the edges so that frosting can be added in a fuss-free way. Set aside.
2. In a stand up mixer fitted with a whisk attachment, combine icing sugar with egg whites.
3. Slowly add water (about three tbsp) to mixture until a medium consistency is met. Place 3/4 cup of this mixture in a separate bowl. Add a tiny amount of the gel colouring and incorporate colour until desired colour is met. Don’t add too much! This batch of icing will be your flood gate icing. Place this icing in one of the prepared piping bags.
4. Pipe edges around cooled cookies. Let dry (30 mins). Save some of this frosting for decorating details after cookies are completely dry. (Store in a sealed bag or air tight container).
5. While waiting for flood gate icing to dry, add about 3 more tbsp of cold water to remaining frosting and add matching colour gel. This frosting should have a runny but still mildly thick texture. This batch will be your flood icing!
6. Scoop the frosting into the second piping bag, or place in a bowl. Pipe or spoon the runny frosting into the centre of each cookie and spread throughout with a small spoon or toothpick. See this tutorial if you feel like you need more help! :) Have fun!
7. Allow cookies to cool 5 hours at least. With left over thick frosting, pipe ornamental designs onto cookies for added effect! Have fun. :) I decorated my cookies with this edible gold paint and edible pearls. They were preetty ;)
 Above is a photo of the Woodland Wonderland cake that I baked for the party. Recipe soon! It was a lavender olive oil cake, and my friends I think it’s safe to say the recipe is worth sharing!
I hope you have a wonderful month ahead full of realizations of your own summer dreams. What are you planning up? Take care and dream big my friends!! We have a whole bounty of summer promise in front of us. Don’t you love June for that reason? I am trying my best to plan some adventures here, here and here this summer.. if everything pans out ;)
Love,
Blue Owl
PS: This article made me smile and ponder what my extensive list might be…(lol) :)
PPS: This is currently my favourite cookbook. Every cake recipe has been unreal and I am loving exploring the delicious flavours that Tessa suggests . :)
PPPS: In light of summer weddings.. are seating charts yay or nay?
Take care my loves.


